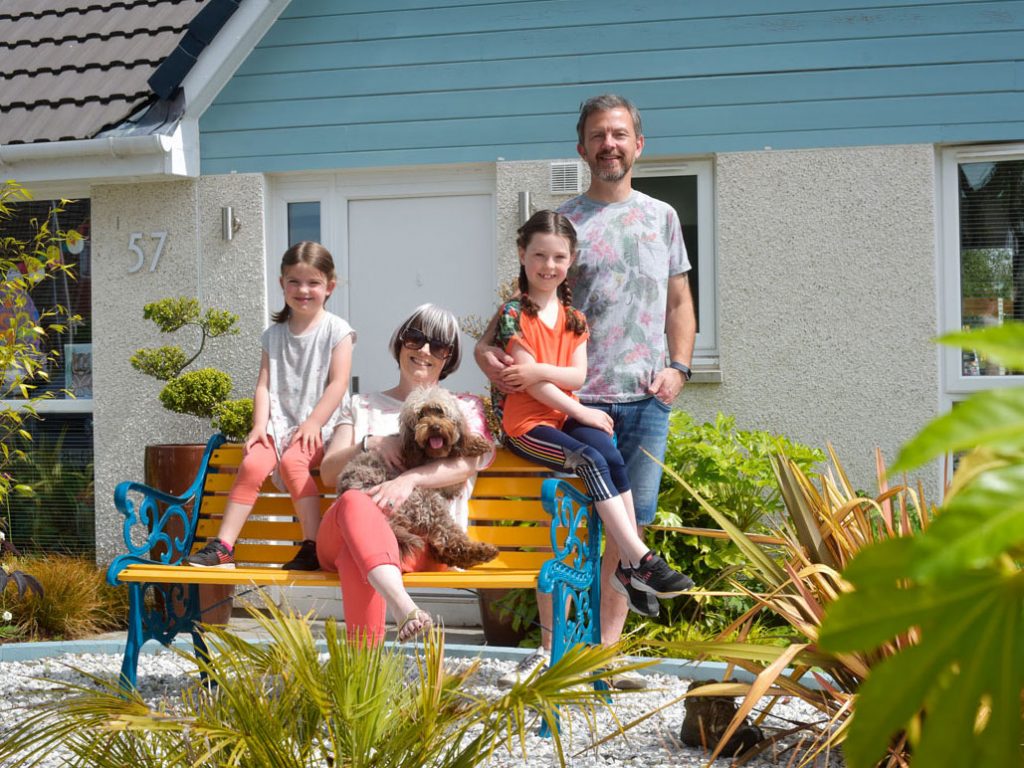
Mr C, Causewayhead
It has been a pleasure dealing with yourself and Jill over the last five years. It has also been a pleasure to have the Vialii team on-site, as the team members have always been pleasant and polite, as well as tidy and hard-working. Many thanks for the consistent record of good
Mrs C, Bridge of Allan
We LOVE the garden. I actually meant to give you a bit of feedback about the guys – they were so professional, quick, efficient, cheery! Not sure of the guy’s name who came to my door afterwards, but he was lovely – just giving me an update, checking I was happy.
Ms M, Larbert
I am very pleased with the garden design and build completion provided by Vialii Garden Design. They have exceeded expectations in the design and execution of the work. I recommend them highly, as I found them to be professional, knowledgeable, talented, honest and hardworking with excellent, ongoing communication skills.
Mr & Mrs D, Tillicoultry
We are very pleased with the finished decking and it adds handsomely to our garden facilities.
Mr & Mrs McL, Alloa
We would like to take this opportunity to thank both you and your team for the excellent garden you have given us. I would also like to compliment you on the professionalism of all the team during the build. From the design consultation to the finished product our expectations have
Mr & Mrs H, Stirling
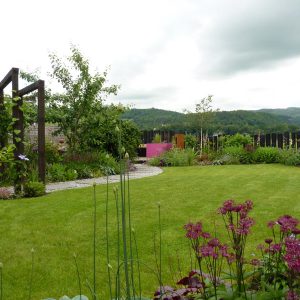
We purchased a new home which already had a back garden but lacked character and the layout was not practical. We contacted Michael and Jill at Vialii Garden Design who listened to our ideas, shared their thoughts and then came up with 3 design concepts. Our requirement was to have an
Mr W, Dunblane
I have been very happy with the work over the summer and the guys are courteous and very pleasant. It would certainly be my intention to continue again next year.
Mr & Mrs G, Stirling
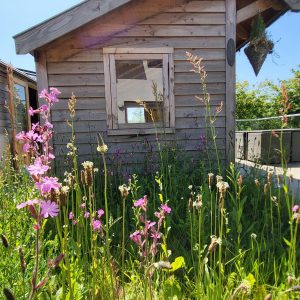
We got back from France very late last night and it was with great anticipation we had our first proper look at the new front garden. We are delighted! What a transformation of the space.
Mr & Mrs A, Larbert
We’re absolutely delighted with the end result. We had an idea in our heads and Michael & Jill just made it even better. Joe and Ross worked extremely hard and were very polite and respectful not only to us, but to our garden/home too. We would have absolutely no hesitation
Mrs K, Dunblane
We absolutely love the garden! We can’t thank you and Michael enough – and Connor and the rest of the team of course.