Make Your Own Easter Basket
Hey everybody. Easter is almost here so I decided to combine two of my favourite activities (gardening and doing crafty stuff of course!) and come up with a suitably eggs-citing project for my latest blog. So read on and find out how to make your very own Easter Basket for free!
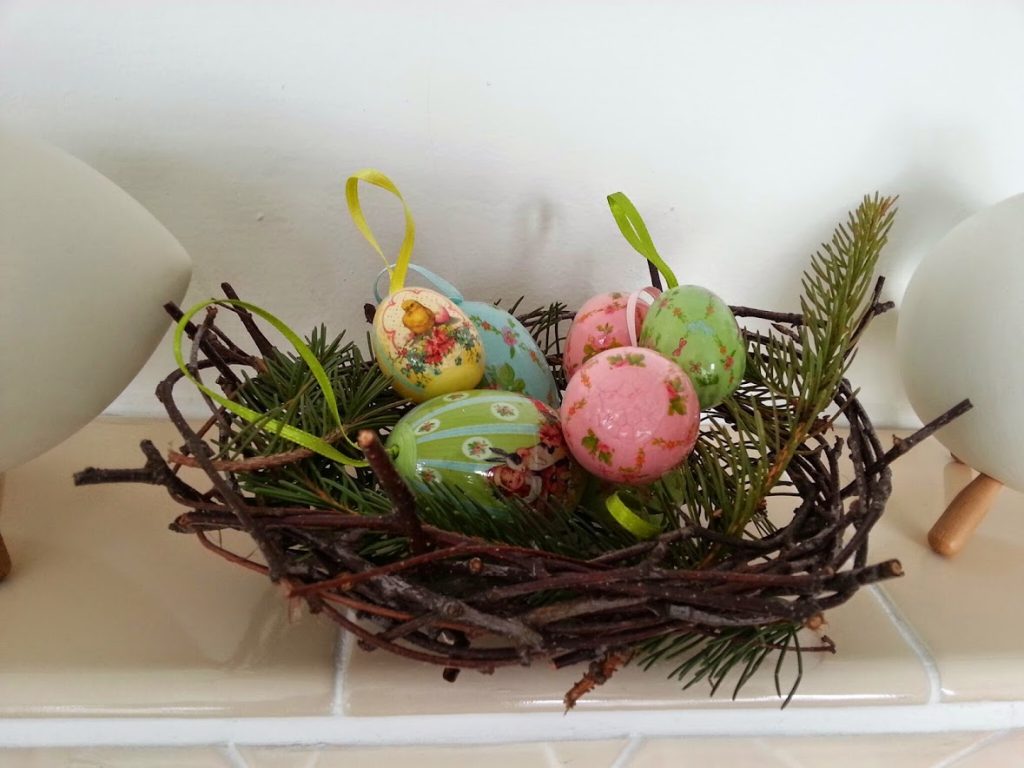
My Easter twig basket
Easter Twig Basket
You will need:
- Some twigs
- Some string
- Some pine needles/feathers/grasses etc to decorate
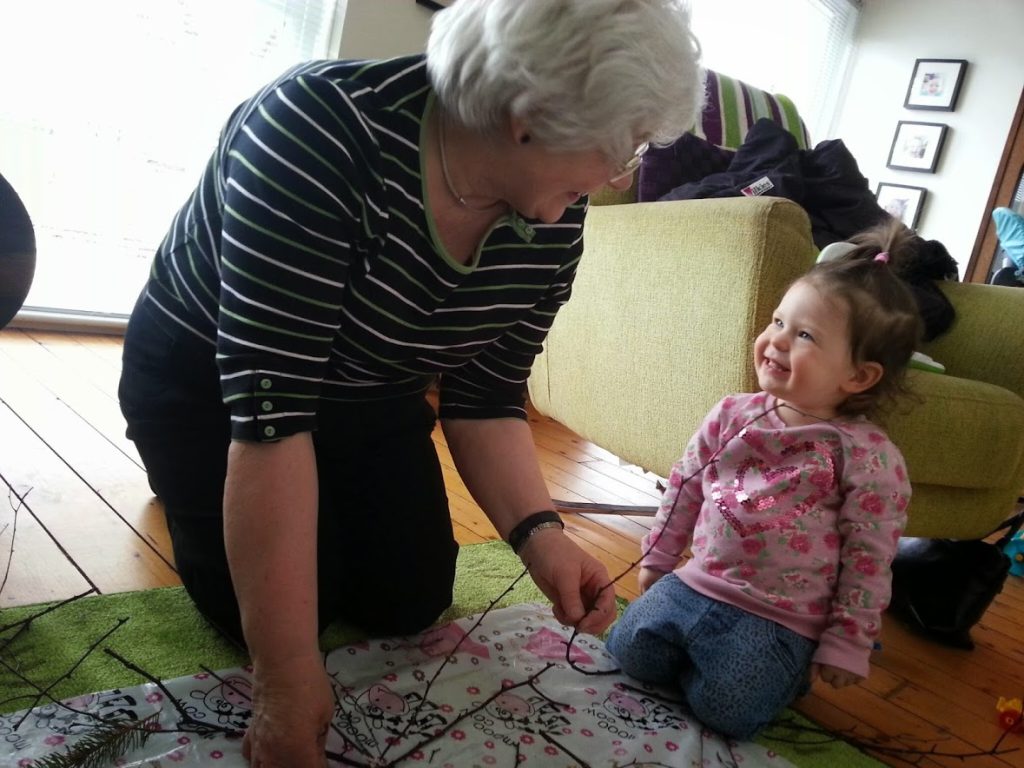
I kept a close eye on Grandma as she made
the star shape to make sure she got it right!
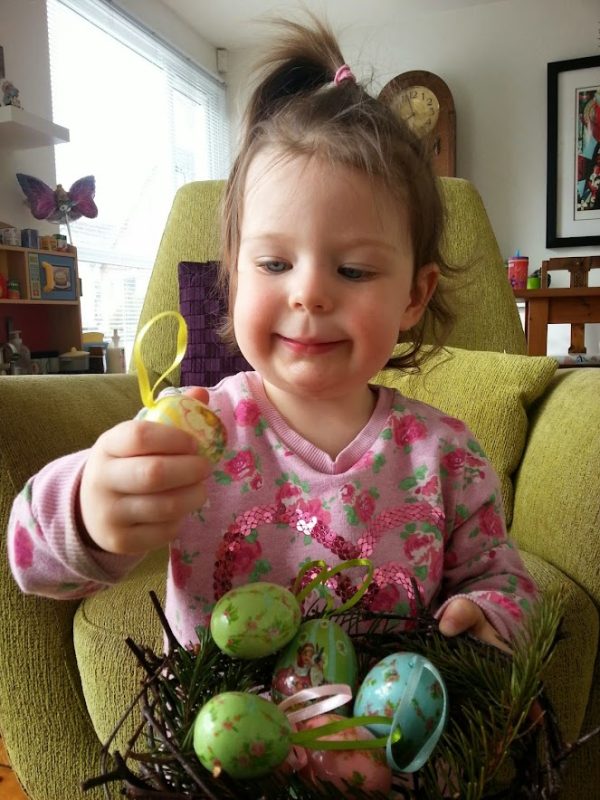
I filled my basket with some pretty Easter eggs
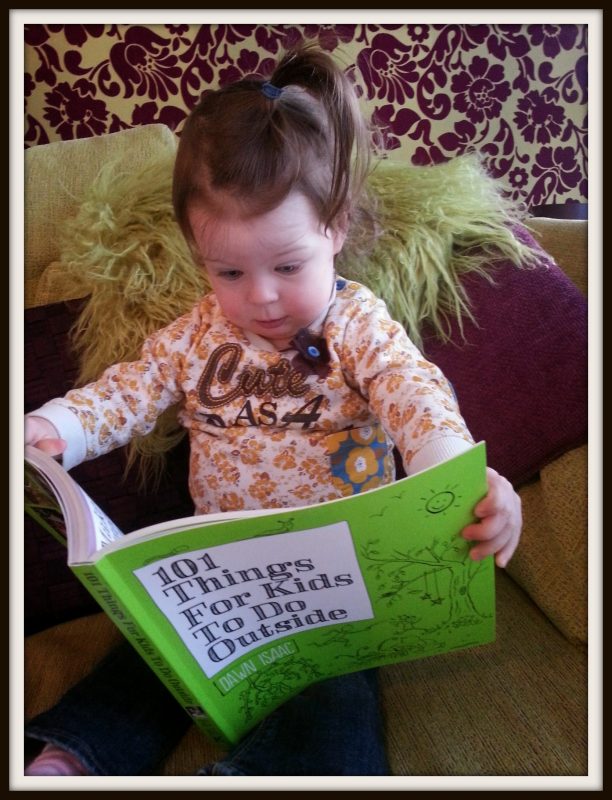
The book is PACKED full of lots
(well 101 to be precise) of awesome ideas
Daft on Daffodils
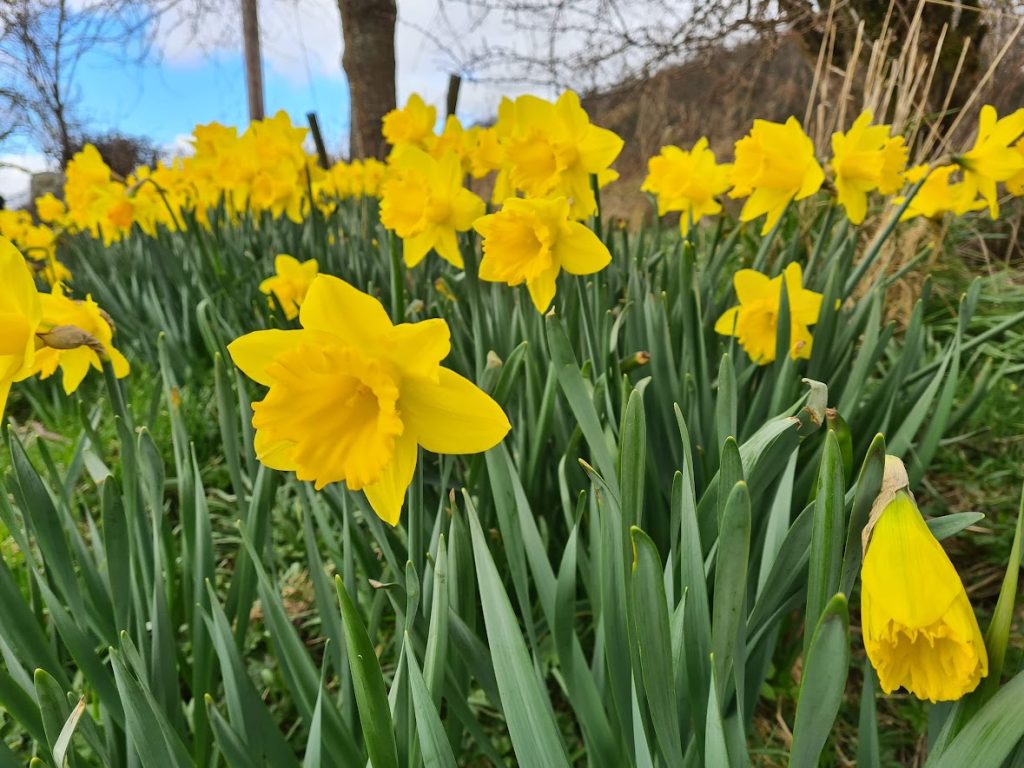
Daffodils always make me smile
Paper Plate Daffodil
You will need:
- Two Paper Plates
- Toilet Roll Tube
- Pencil
- Scissors
- Selection of yellow and orange paints and papers
- Glue
- String or ribbon
To make:
1. Take one of your paper plates and on the reverse side draw the outline of your daffodil shape. Ask your grown up to cut this shape out, then paint it a lovely bright yellow.

Painting the flower is a lot of fun
2. Take the other plate and draw a similar daffodil shape but slightly smaller and this time draw it on the correct side of the plate. You can paint this one the same colour, or add some coloured paper to give a different texture. We chose some lovely yellow crepe paper to glue onto the plate.
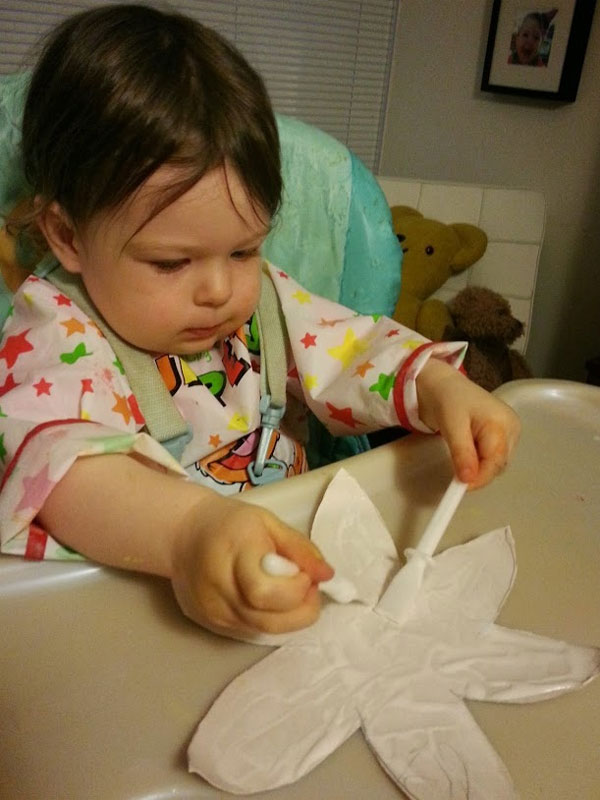
I liked adding the glue to the flower
3. Stick your two plates together. You will now have a lovely 3D effect because the plates have been used opposite ways:
4. You now need to make the daffodil’s trumpet! Root-toot-toot! To do this get a toilet roll tube. Ask a grown up to cut approx 2cm deep slits, approx 1.5cm wide, at one end of the tube (you will have roughly 9 “tabs” when you have finished. On the other end cut lots of slits to make a fringe effect. Once this has done paint the inside and out orange:
5. Once the trumpet is dry gently fold back the fringing. Then glue the tabs at the opposite end and stick the trumpet in the middle of your petals and glue a loop onto the back to hang it up:
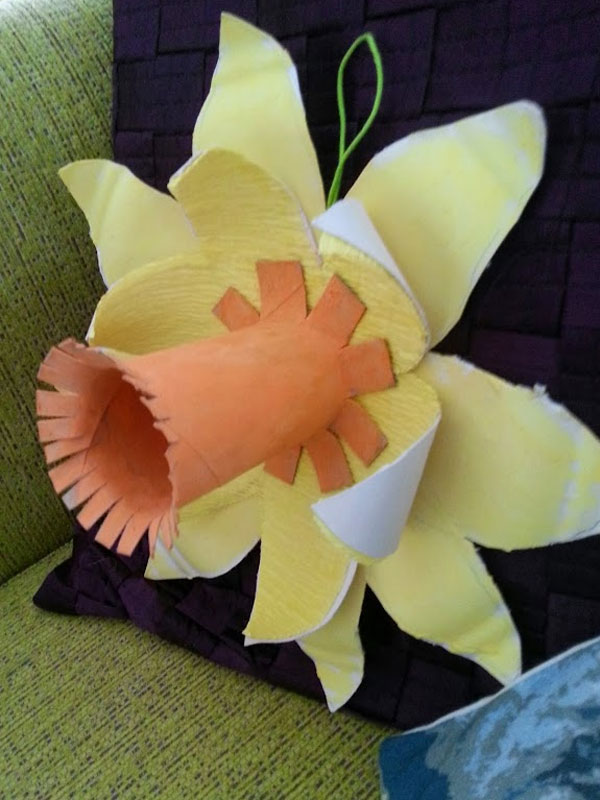
The finished daffodil to keep us cheery all winter ;
If you need any more advice on bulbs or would like to contact us about getting some planted in your own garden then please get in touch.
Hugs & kisses,
Lulu xx