Make Your Own Fairy Door
All good gardens have fairies living in them. As expert gardeners, we know a thing or two about fairies too. So we thought that we would share some of our knowledge with you and show you a really easy and cheap way to make your own fairy door and make sure fairies come to live in your garden too…

Lulu & Tilda’s fairy doors
Fairies, a bit like us, come in all different shapes, sizes, colours and like lots of different things. So whatever theme, colour, accessories you choose to put on your fairy door there is sure to be a fairy out there who will LOVE it and come to live in it. But did you know there is a very special way of knowing if there is a fairy living in your garden? Well read on and I will tell you how…
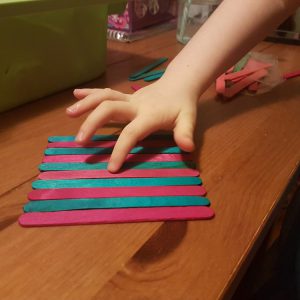
Lay out your sticks
To make our own fairy door we used:
- Lollipop sticks
- Glue
- Foam sheet
- Jewels to sparklify your door
To make:
1. Take your lollipop sticks and make a row which is the same length as one stick on its side.
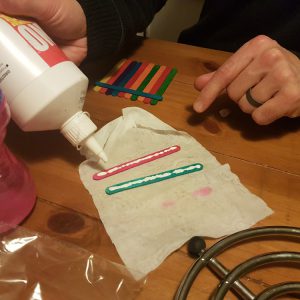
Add glue
2. Put glue on 3 more sticks and put one across the top, one across the bottom and one diagonally in between. Leave to dry.
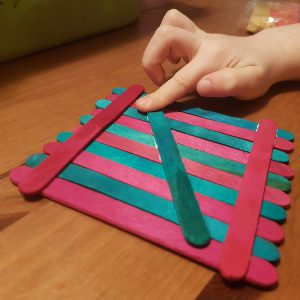
Lay the sticks across the rows to hold them together
3. Make hinges out of pieces of foam sheet and stick these to your gate. Do the same for a door knob. Then decorate your door in whatever style you think your fairy would like. It could be a woodland theme, sporty, glittery, rockets, whatever you like.
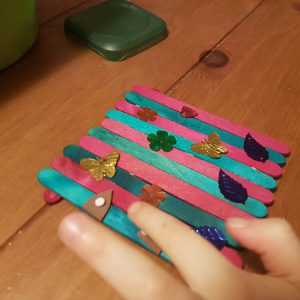
Decorate your fairy door
4. Find a special place to put your door.

Find somewhere special for your fairy door
We put ours at the bottom of an apple tree, beside our tree house so we could be close by. Where will you put yours?
If you don’t have a garden to put your fairy door in then don’t worry as there are also indoor fairies who would love to come and share your home.
You can also make a whole fairy garden for them to enjoy with features like ponds, decking, clothes lines for their sparkly clothes and lots more. We show you how to do that in this blog we wrote earlier.
Now, we promised to share with you the secret of how you know if a fairy is living in your fairy garden didn’t we? Well, if you put a button beside the door, once a fairy moves in that button will disappear until they move out again. Clever huh?
Sparkles,
Rose River & Glimmer Thistle (AKA Lulu & Tilda)
Fairy Gardens Revealed
I love gardens and I love fairies so put the two together and whooosh, it’s like a fairytale ending! In this latest blog I have soooo much to tell you including some AMAZING fairy gardens to go and visit. AND (yes, there’s more!) how to make your very own fairy garden. Come on, let’s go see…
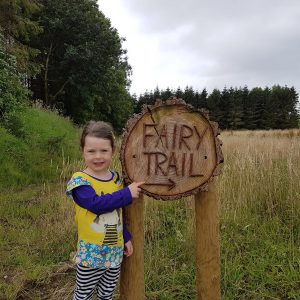
This way for the Fairy Trail…
Alnwick Gardens
I am a very lucky girl as Tilda and I have been to visit two fairy gardens recently. Last week, when we were on holiday, we went to Alnwick Gardens which has a fairytale treasure hunt in it. I have already blogged all about that in A Garden of Fairy Tales so click on the link to go read all about there.

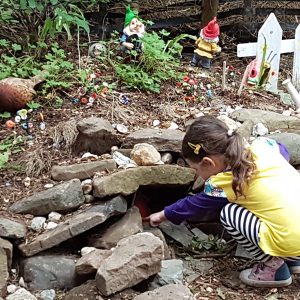
Heading to the Fairy Village in Balfron
Fairy Woodland Experience
Last month we also visited the Fairy Woodland Experience in Balfron which I want to tell you all about. When you arrive you get a map to guide you around the woodland and there are cute little log with arrows all around the paths to keep you in the right direction. On the day we arrived there was a bit of a panic as the key which opens all the fairy doors had been lost and it was up to us to find it and make sure the fairies could get back in and out of their doors!

Make a wish, press the button and see what happens next…
When we arrived at the Fairy Village we were met by two real life fairies.We were given our fairy names (my name was Rose River and Tilda’s was Glimmer Thistle, cute huh?) and some quiz sheets. On the treasure trail there was a lot to find such as who lived behind the pink door and who lived at number 72. Thankfully we managed to find the missing key (phew) so that solved that crisis. In the village there was loads to see and do – lots of fairy doors to spot, a wishing chair, a worry tree and loads more.
There are fairy doors hidden in LOTS of places
We carried on round the larger woodland walk and found lots more fairy doors and it was a pretty walk through the woodland. We even stopped for a wee picnic on our way.
Back at the hub there was free tea, coffee, juice and biscuits as well as colouring in to do. There’s also a cute shop selling lots of lovely fairy merchandise. My grandma bought Tilda and I fairy doors which we used to make our fairy garden which I will tell you about in a minute.
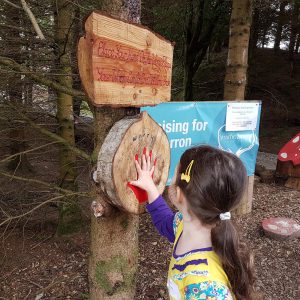
The worry tree takes all your worries away
We would HUGELY recommend the Fairy Trail. It is only £4 per person (under 2s are free) and we spent hours and hours there. The Fairy Trail is open Thursdays and weekends through September and open through the October school holidays. It will then become the light experience and then the Santa experience before the fairies allow us back to visit again from next March.
There are even more doors to find on the woodland walk
Inspired by our visit to Balfron, Tilda and I decided to make our own fairy gardens. Here is how we made ours:
Make Your Own Fairy Garden
You will need:
- A wooden tray (or an old shoe box)
- Some artificial grass (you can get free samples sent out to you!)
- A fairy door (get one at the fairy experience when you visit)
- Bits & bobs and your imagination to decorate the garden
To make:
1. My clever daddy made me a wooden frame for my garden. You could use a tray or even an old shoe box would work.
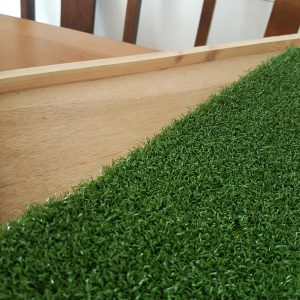
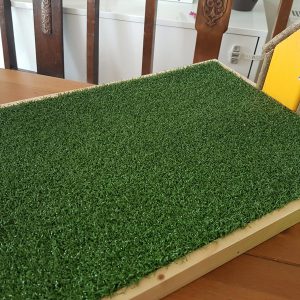
Daddy made me a tray to put some artificial grass into
2. We had some off-cuts of artificial grass which we cut to size. You could ask your grown up to send off for a sample of artificial grass which you could use.
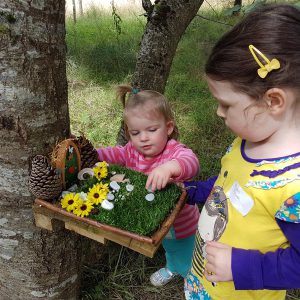
We added our fairy door to one end and then decorated it
3. To decorate our fairy doors we added the stickers which came with them and glued them to our frame.
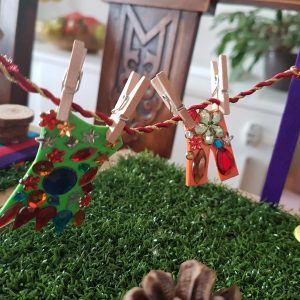
We made some sparkly clothes & a washing line for our fairy
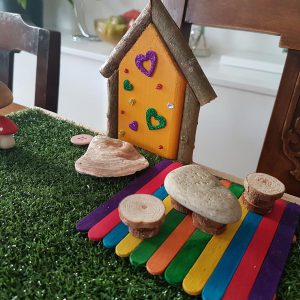
4. We then went wild and designed our garden. Luckily I could get some top tips from M&D who are garden designers. They said we needed to allow a path to the door and somewhere to sit. A hopscotch path was created and we made decks out of lollipop sticks! I made a pond from some mosaics as well as some trees. We found some flowers and used pine cones as shrubs. I also made a wishing seat from a painted stone and made a sign. We even made a washing line and some glittery clothes for my fairy! Tilda made some cool garden furniture using little wood circles and stones. Some toadstools finished off our gardens perfectly.
Tilda made a stripey deck and some furniture for her garden
We left buttons outside our fairy doors so fairies know it is empty and they are welcome to come and live there. I hope some come to visit soon!
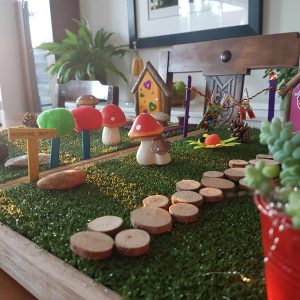
Our completed fairy gardens, waiting for some fairies to move in…
Happy creating!
Rose River (aka Lulu) xx