Make Your Own Leaf Art
Like many of us, we have been finding lots of fun new projects to try with the kids as part of their home schooling. Ones which combine learning and nature are always popular at Vialii Towers so this project where you can make your own leaf art was a big hit with us all. Want to try this one at home too? Well, here’s how to make your own beautiful, unique piece of art…
You will need:
- A leaf
- Paper
- Pencil
- Colouring pencils, pens, paint…whatever you wish to use
How to make your own leaf art…
1. Choose a leaf. It can be from your garden or one you find while out for a walk. We chose one from our viburnum davidii as they have quite sturdy leaves, easy to draw around.
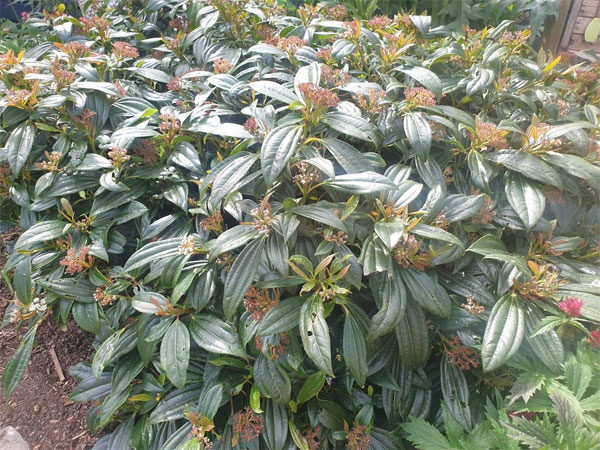
Pick a leaf to create your leaf art with
2. Carefully place your leaf where you want to start. Think about where your leaves will go so you can fit your flower shape in. Top tip – start with North, then South, then East then West (or 12 o’clock, 6 o’clock etc if you want to slip a bit of time lesson in there!)
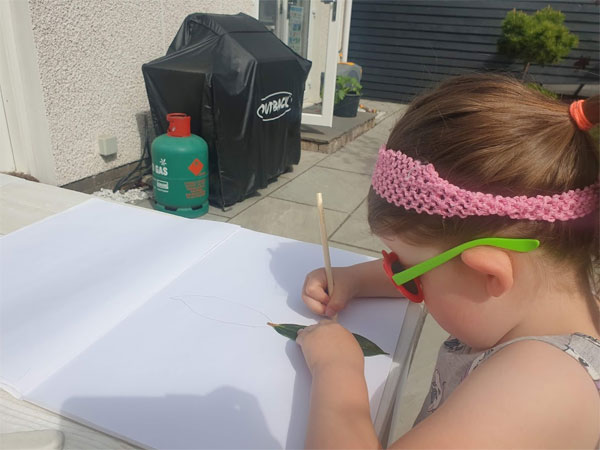
Carefully draw around the leaf allowing space for the full picture.
3. Keep drawing around your leaves until you have made your flower shape.
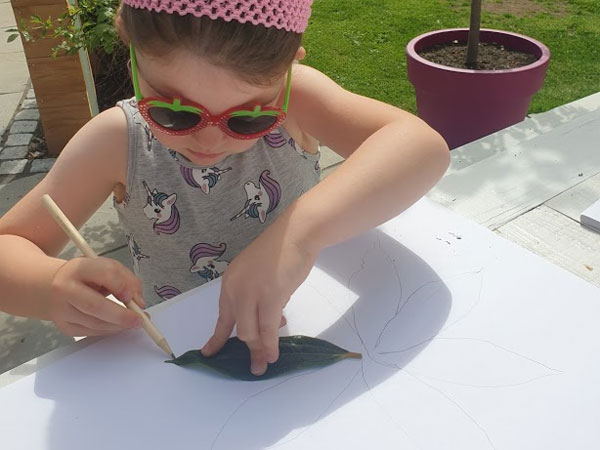
Add in all the shapes to make your flower picture.
4. Add in any detailing you wish to add.
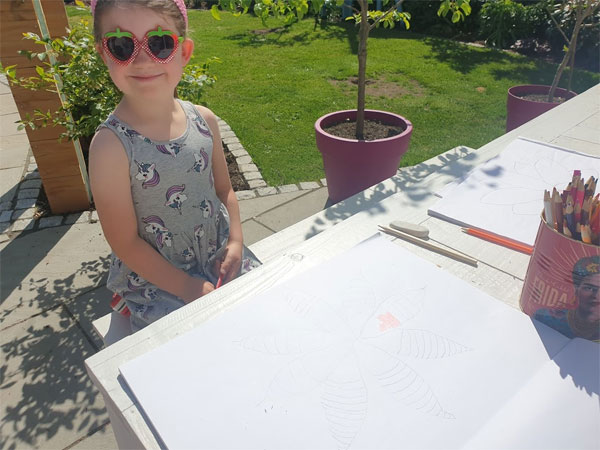
Add in stripes, spots, geometric lines – whatever you want for your own unique picture.
5. Let your imagination run riot with your colouring.
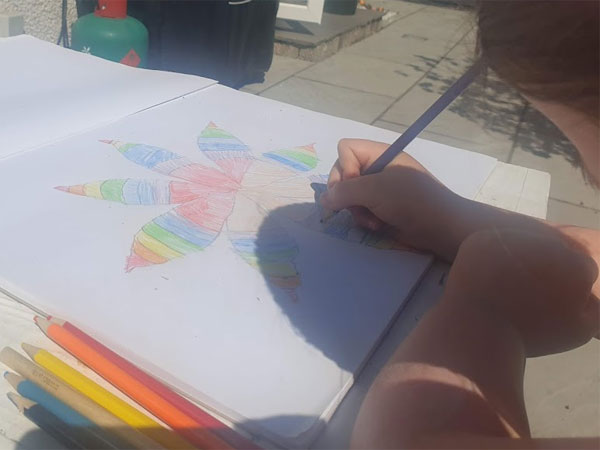
Colour your leaf art in any way you wish.
6. Ta da, you have created your own leaf art!
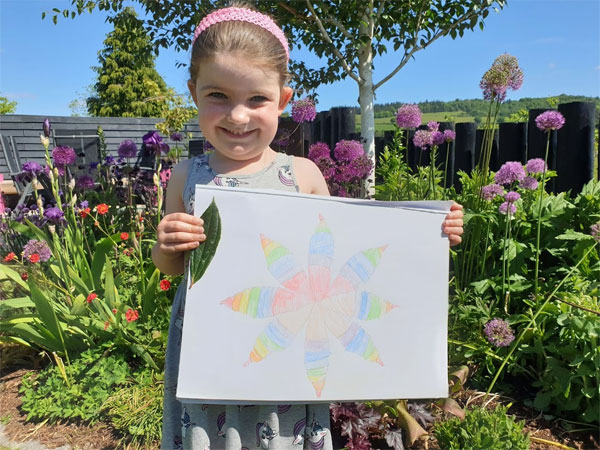
The completed picture – well done Tilda, it looks amazing!
Hope you enjoy making your own unique leaf art at home.
Vialii