Feed The Birds, Tuppence a Bag…
I love birds. They can fly for one thing, which is pretty cool. They are also great friends to us gardeners. In my latest blog I am reviewing a super book all about garden birds from the cool people at the RSPB. I have also created a trendy bird feeder which is soooo easy for you to make at home.
Book Review: My First Book of Garden Birds (RSPB)
The lovely people at the RSPB do an incredibly important job in protecting our feathered friends. They kindly sent me their “First Book of Garden Birds” so I could read it and, more importantly, tell you all about it.
The first thing you notice before you even open the book are the beautiful bird illustrations on the cover. These continue throughout the whole book making it beautiful and colourful as well as educational.
The book is split into interesting sections. “Birds in your garden” tells you some basic information on what its important to do to look after the birds in your garden and to encourage more in.
The “Guess Who” section is my favourite. You are given lots of clues about common garden birds and a beautiful illustration and you have to try and recognise them. It’s a great introduction to bird spotting for littlies like me and you don’t even need to venture outside with binoculars and waterproofs!
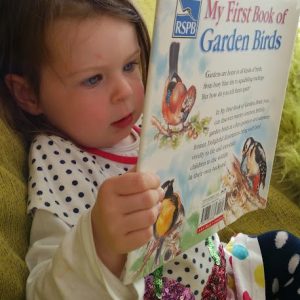
Loving reading My First Book of Garden Birds
There is also an explanation about some of the terms used when talking about birds such as plumage and markings so you can talk like an expert!
At an RRP of £6.99 for a hard backed copy, this book is great value and a wonderful introduction to the world of birds. It’s a must for all young readers who like the outdoors and nature.
One of the things that this lovely book tells you about is how important it is to feed the birds in your garden. I have created this awesome bird feeder from an old drinks carton. Read on to find out how…
You will need:
- Empty juice carton
- Scissors
- Paints, glue and things to decorate your feeder
- String or ribbon
- Pencil or doweling
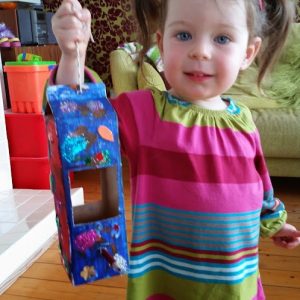
My lovely new bird feeder!
Daddy’s Day Tin Can Planters
Hey everyone. It’s Father’s Day this Sunday which means we all need to be extra nice to our lovely daddies. I think it’s nice to make something personal for Daddy’s Day so I have come up with a really cool project which you can easily personalise to your own Daddy. Or if you are strapped for time you can keep it plain and very simple. And it can cost absolutely no money too which is even better! Here’s my Tin Can Planters for Father’s Day…
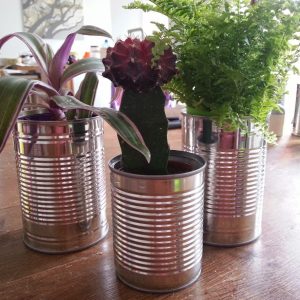
Plain tin can planters look great too
Make Your Own Tin Can Planter
You will need:
- An empty, clean tin can
- Hammer and a nail
- Something to cover the can with
- Glue
- Spray varnish & gloves
- Compost
- Plant or seeds
To make:
1. Find a tin can which you like the size and shape of. I chose some different sizes to make a nice collection but one can look just as good. Ask a grown up to make sure its all nice and clean and that there are no sharp edges.
2. You will need drainage holes in your can so ask a grown up to turn it upside down and using the hammer and nail add a few holes to the bottom.
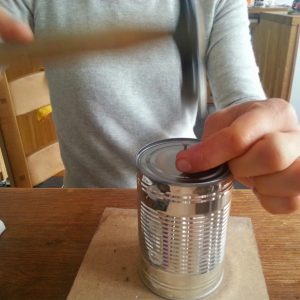
Be careful not to hit your fingers Auntie Alison!
3. Now you can personalise your tin can with whatever you want. Some ideas include one of your own drawings, paintings or hand prints, a relevant piece from a magazine or newspaper or some nice wrapping paper.
4. Carefully measure your paper so that it wraps perfectly around your tin can with a little bit extra for gluing down.
5. Glue the edges of your paper so they stick well to the tin can.
6. Take your tin can outside and ask a grown up to spray it all over with spray varnish. This will waterproof the paper so the planter can sit outside and not be ruined. Remember to use gloves when spraying and always spray outside or in a very well ventilated area.
7. Once the varnish has dried you can fill your can with compost and plant your seeds or plants. We always have some lovely plants and seeds that are perfect for adding to a mini planter kicking around the garden or shed and you can easily divide some plants such as sempervivums to create new free plants! Herbs are a lovely addition or dwarf plants and cacti can look great too.

My decorated tin can planters
If you are struggling for time you can skip steps 3-6 and keep your tin cans with the plain metal finish which looks great. If you find teeny plants in pots (some garden centres sell them) you can skip the drainage holes and compost part too and just pop the pots straight into the tin cans. Remember they will rust if they go outside so they would be better kept on the windowsill with herbs or indoor plants. Or you could paint them bright colours or varnish them if you want to place them outside.
So, there you go, a Daddy’s Day tin can planter, a lovely memento for years to come.
Lulu xx
A big thank you to Apartment Therapy for the inspiration for this blog.
Lulu’s Garden Double Book Review
Hi everyone! The lovely people at Hawthorn Press recently sent us two of their books to review. I know how you love to read about gardens and things to do so I have read, pondered, laughed, crafted and generally got a good feel for what they are all about. Want to hear what they are? Well read on Macduff…
Findus Plants Meatballs by Sven Nordqvist
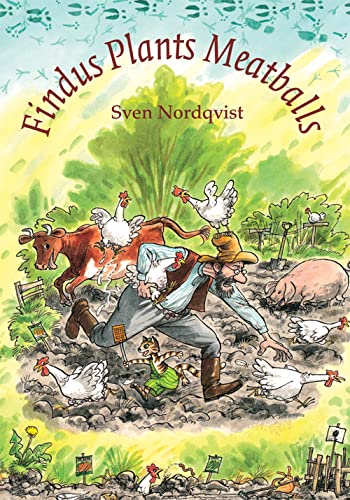
Findus is a cat so I immediately liked this story as I have THREE cats. None of them are called Findus though and to be the best of my knowledge none of them have planted meatballs! Now, I think I should point out that this is a fiction book (that means it’s a made up story!) Or at least I think it’s a made up story, you can never be quite sure… The Findus series originates from Sweden and there is a wide range of stories featuring Findus. I love this one as it centres on the garden. Farmer Pettson is busy sowing his vegetables which inspires Findus to do a bit of planting of his own. Chaos ensues and it is VERY funny to see what happens to the vegetable patch. I hope the same doesn’t happen to our own veg patch mind you! There are lots of lovely pictures in this book too. I would definitely recommend this book as a fun read for everyone!
Lulu’s Rating: 4 lovely glittery stars
Gardening with Young Children by Beatrys Lockie
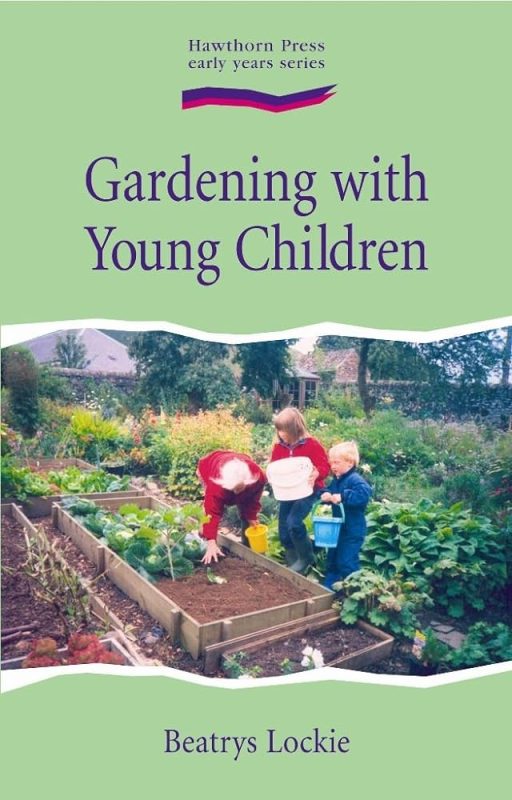
Gardening with Young Children is a guide to how to encourage kids like me to get outdoors, engage with nature and learn to garden. It is full of practical advice on what to grow and when. There is lots of information on wildlife as well as plenty of recipes and projects to make. There are poems and songs in the book too which breaks it up and makes it quite different from all the other books on this subject. The book feels a lot more old fashioned in terms of style than many of its competitors and I think if it had new photographs and lots of colour pictures it would be a lot more engaging for children and grown ups. There is a lot of useful content and it would be a useful reference book but sometimes it can be a bit dry and hard to read. However, it is worth the struggle on as there is a lot to learn and some lovely projects to try. I have shown you my step-by-step guide to one of my favourite projects below.
Lulu’s Rating: 2 twinkly stars
Make a Garden Crown
- Some corrugated cardboard
- Scissors
- Staples and a paper clip
- Paint
- Leaves
To make:
1. Get some card board (make sure its is corrugated.)
2. Bend it round your head to get it to the right size. Hold it in place with a paper clip.
3. Take the crown off, ask a grown-up to cut off any excess cardboard to get the height of crown you want and ask them to staple the edges together securely.
4. Now it’s time to decorate your crown. I painted it funky colours but you could add glitter, shapes or even go into the garden to find other things to stick onto your crown such as leaves, berries or flowers.
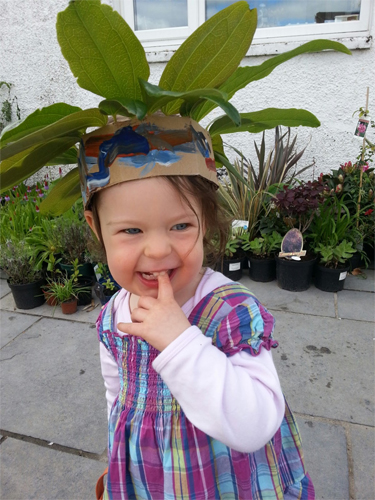
Princess Lulu and her magic crown!
Thanks to Beatrys Lockie for the inspiration for this lovely craft project.
I hope you have enjoyed reading my book reviews and my Garden Crown project and it has inspired you to get outside and do some projects of your own (and to read a nice book!)
Awesome Blossom
I just LOVE this time of year. There is pretty blossom sprouting everywhere! In our front garden we have pretty blossom on a tree called Amelanchier ‘Ballerina’ (it was named after me I think!) and our lovely old cherry tree. It’s a cheery sight to welcome you home. But do you know why trees have blossom? And why does it only last a few weeks? Well, read on to find out why and also, how to make a lovely Spring blossom card.

Look, I have plum tree blossom
coming out of the top of my head!
What is blossom?
Blossom is simply flowers on fruit trees. But did you know that EVERY single tree in the world has flowers? Just that some have flowers so teeny or so hidden away that it’s impossible to see!
Why do trees blossom?
Fruit trees need to attract pollinators (e.g. bees) to help it set fruit. The bees flit from flower to flower, transferring pollen between flowers to ensure pollination.
Why does blossom not last long?
It only takes the pollinators a short amount of time to pollinate the trees so then the blossom falls off. It’s a pity as it’s soooo pretty.
Even though the blossom isn’t around for long, don’t worry as I have a lovely project up my sleeve where you can recreate blossom and make a lovely Spring Card.
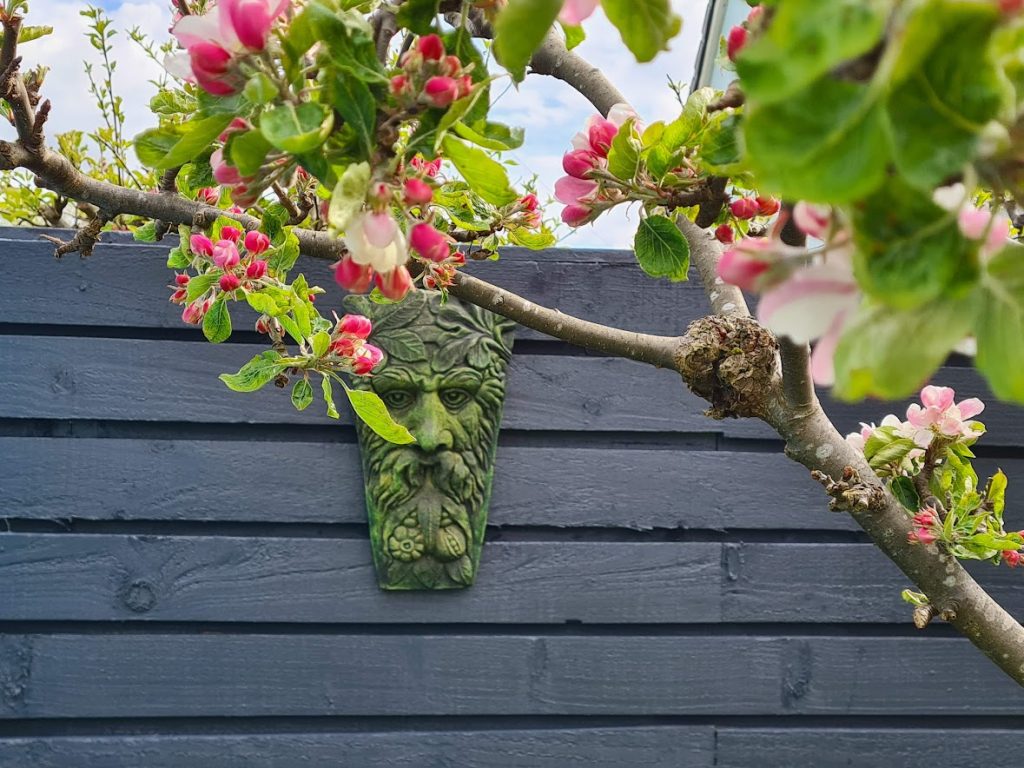
Blossom on our apple tree
Make Your Own Blossom Card
You will need:
- White card
- Paint
- Cotton wool
- Pen/crayon
To make:
1. Fold your piece of white card to make a card shape.
2. Use your pen or crayon to draw a tree trunk and branches on the card.
3. Dip your cotton wool into some pink paint and dab it around the top of your tree to make blossom.
4. Add grass (and flowers if you wish) to the bottom. Ta dah! A simple project which means you can have lovely blossom to look at for a lot longer.
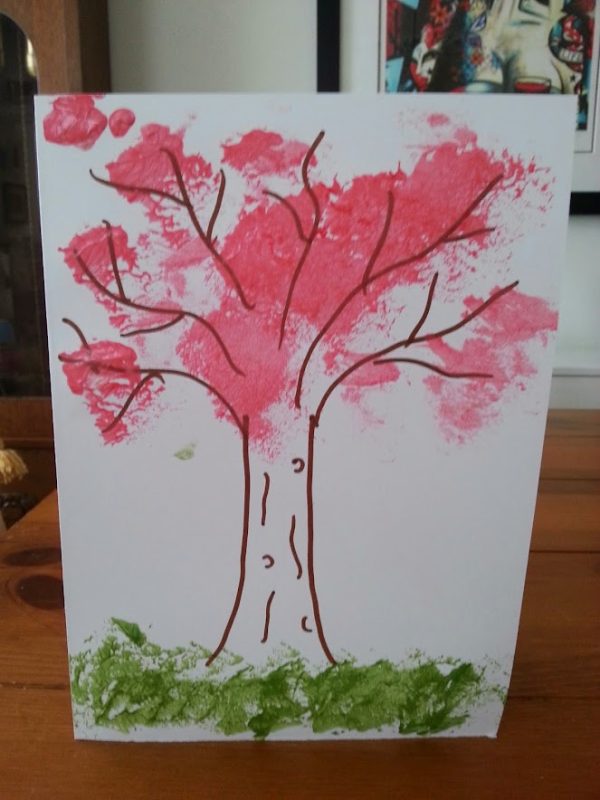
My blossom card
Make Your Own Easter Basket
Hey everybody. Easter is almost here so I decided to combine two of my favourite activities (gardening and doing crafty stuff of course!) and come up with a suitably eggs-citing project for my latest blog. So read on and find out how to make your very own Easter Basket for free!
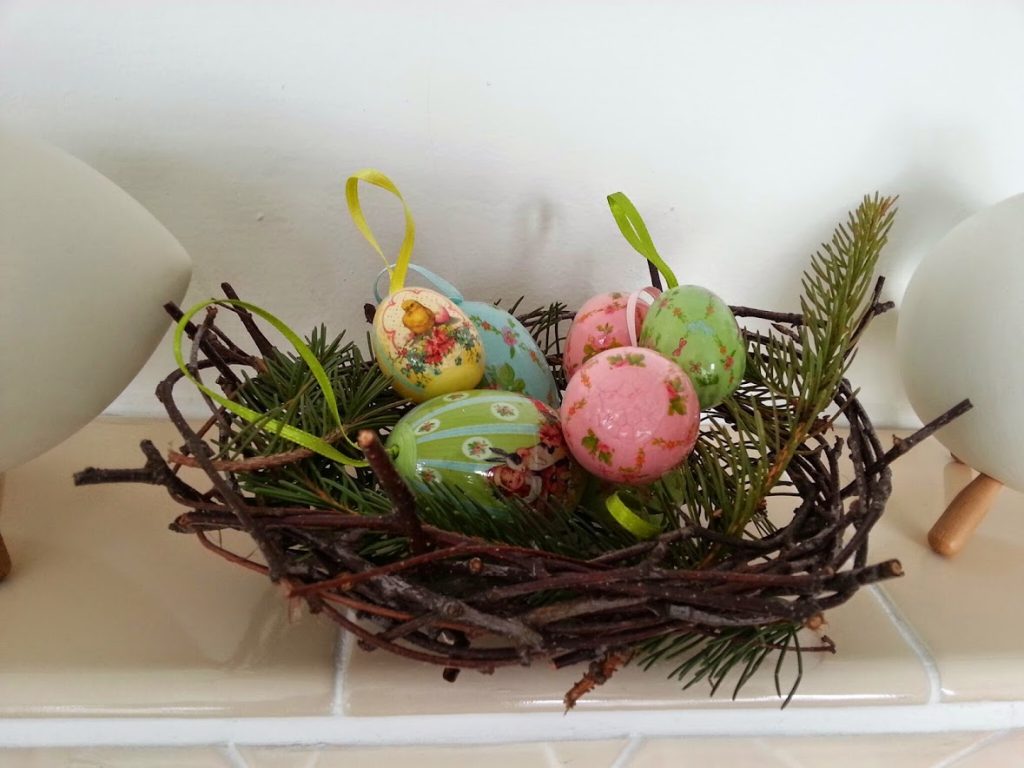
My Easter twig basket
Easter Twig Basket
You will need:
- Some twigs
- Some string
- Some pine needles/feathers/grasses etc to decorate
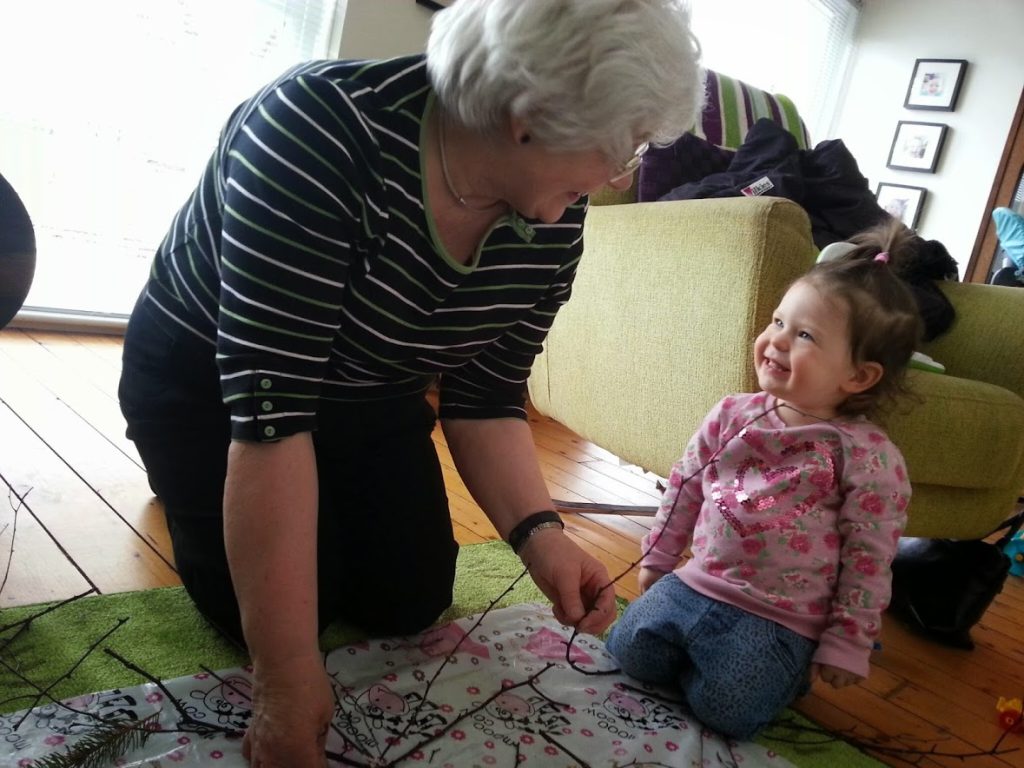
I kept a close eye on Grandma as she made
the star shape to make sure she got it right!
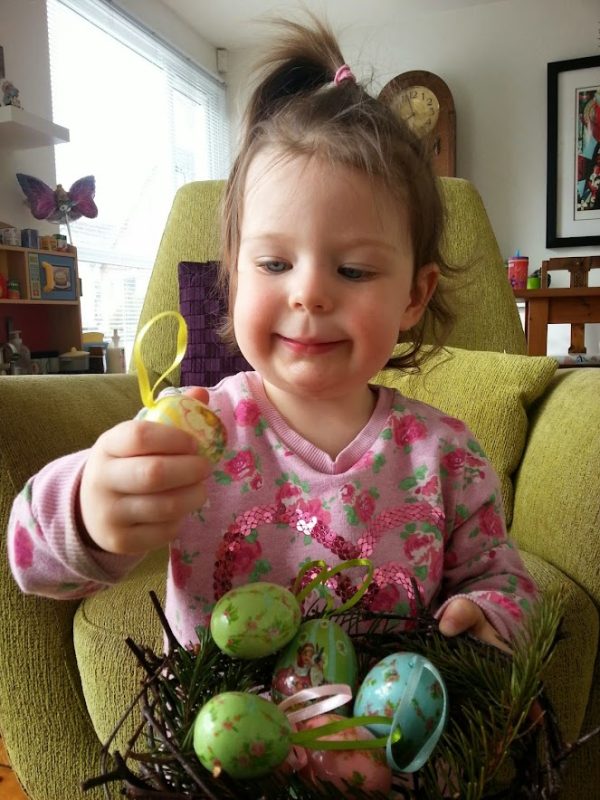
I filled my basket with some pretty Easter eggs
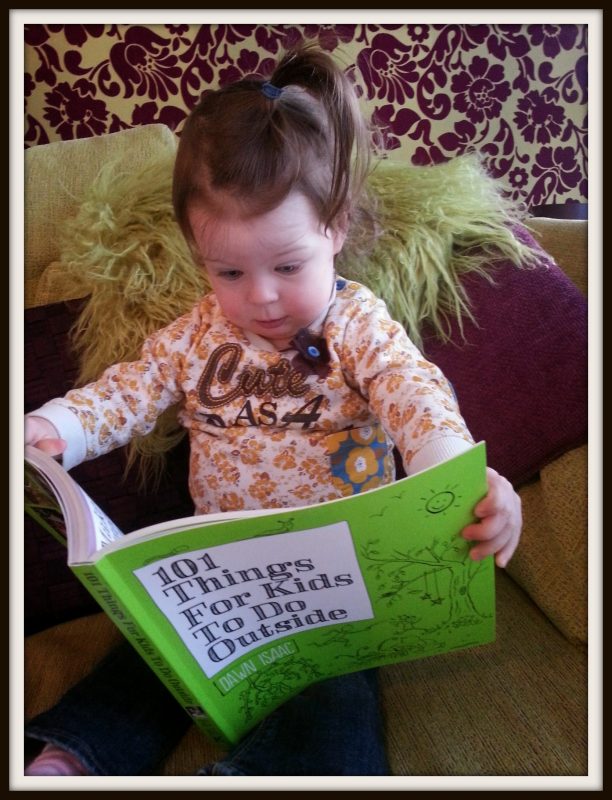
The book is PACKED full of lots
(well 101 to be precise) of awesome ideas
Daft on Daffodils
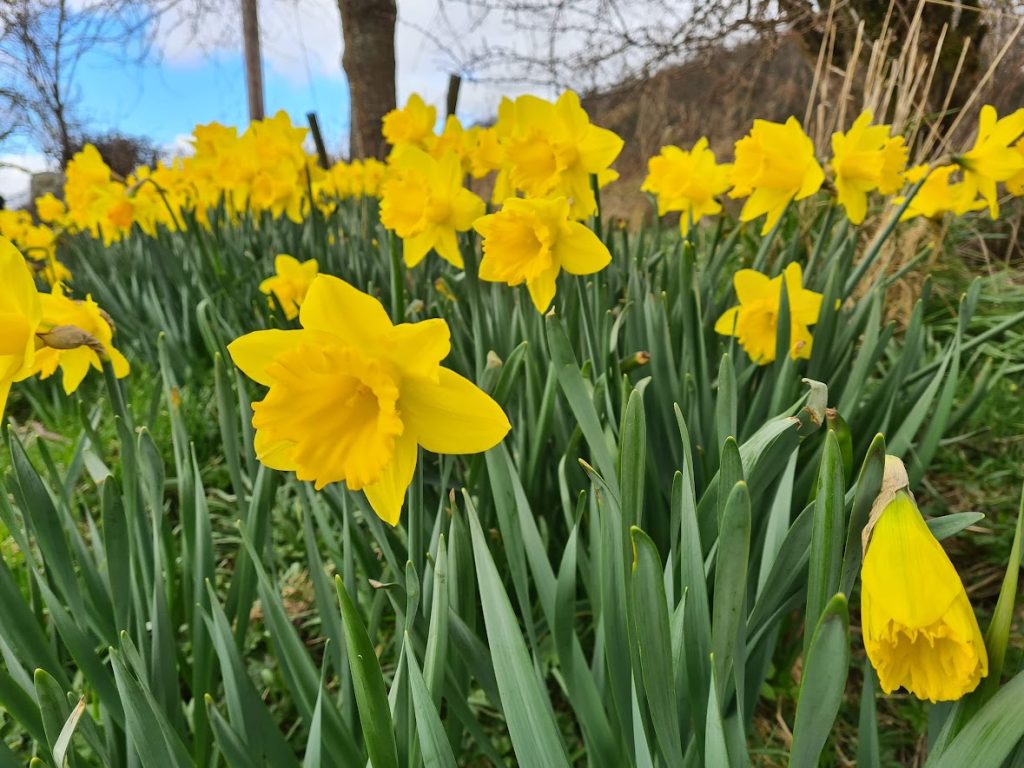
Daffodils always make me smile
Paper Plate Daffodil
You will need:
- Two Paper Plates
- Toilet Roll Tube
- Pencil
- Scissors
- Selection of yellow and orange paints and papers
- Glue
- String or ribbon
To make:
1. Take one of your paper plates and on the reverse side draw the outline of your daffodil shape. Ask your grown up to cut this shape out, then paint it a lovely bright yellow.
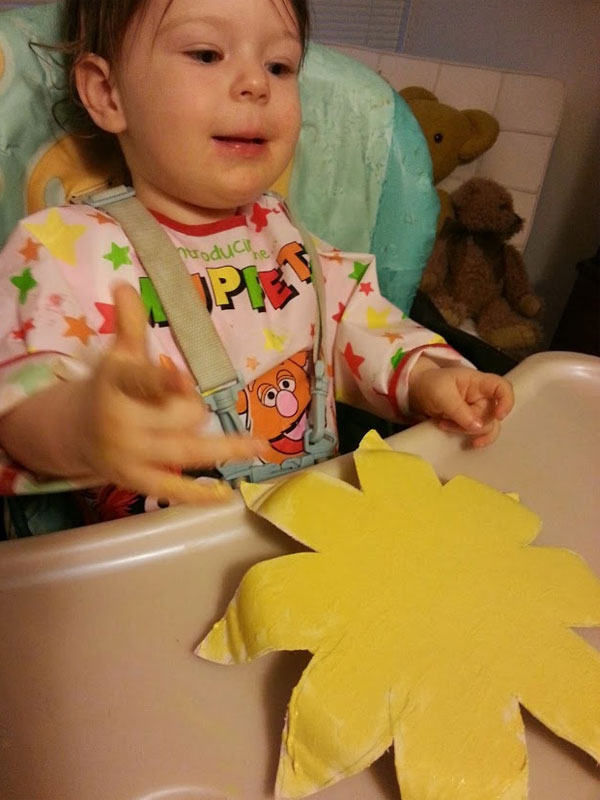
Painting the flower is a lot of fun
2. Take the other plate and draw a similar daffodil shape but slightly smaller and this time draw it on the correct side of the plate. You can paint this one the same colour, or add some coloured paper to give a different texture. We chose some lovely yellow crepe paper to glue onto the plate.
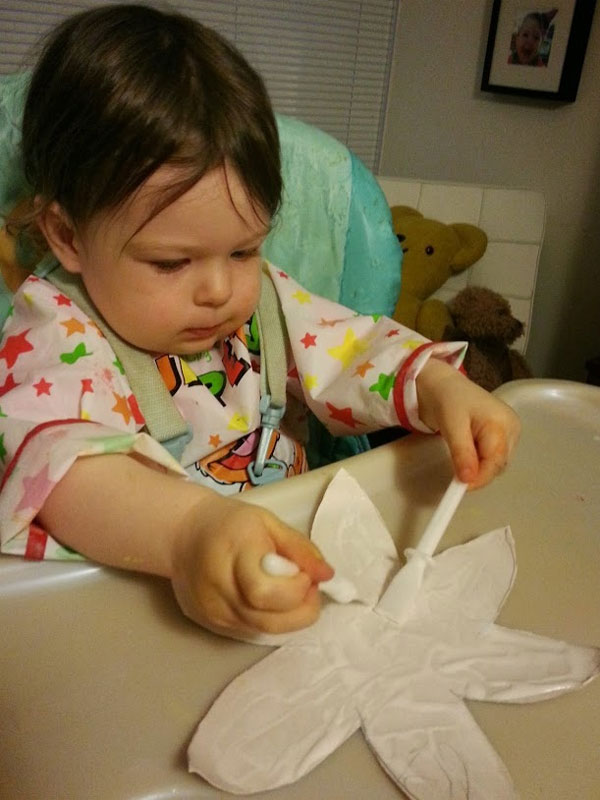
I liked adding the glue to the flower
3. Stick your two plates together. You will now have a lovely 3D effect because the plates have been used opposite ways:
4. You now need to make the daffodil’s trumpet! Root-toot-toot! To do this get a toilet roll tube. Ask a grown up to cut approx 2cm deep slits, approx 1.5cm wide, at one end of the tube (you will have roughly 9 “tabs” when you have finished. On the other end cut lots of slits to make a fringe effect. Once this has done paint the inside and out orange:
5. Once the trumpet is dry gently fold back the fringing. Then glue the tabs at the opposite end and stick the trumpet in the middle of your petals and glue a loop onto the back to hang it up:
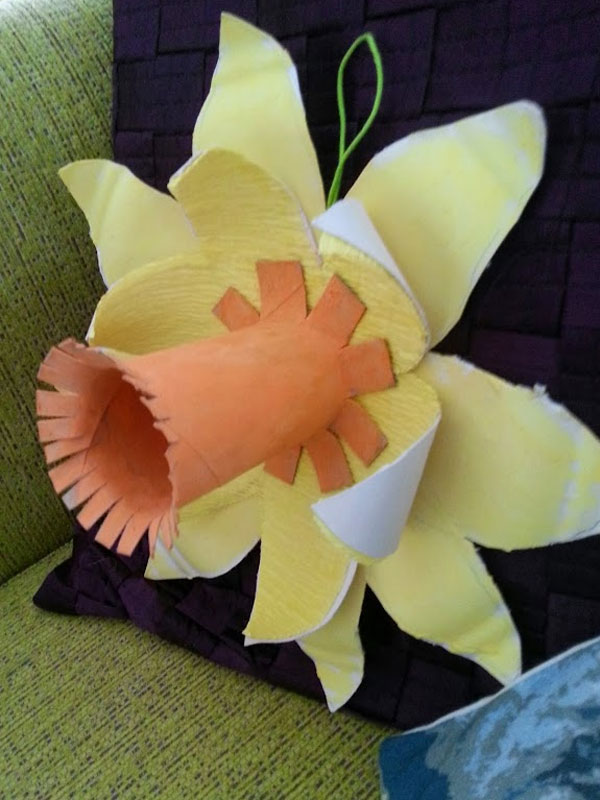
The finished daffodil to keep us cheery all winter ;
If you need any more advice on bulbs or would like to contact us about getting some planted in your own garden then please get in touch.
Hugs & kisses,
Lulu xx