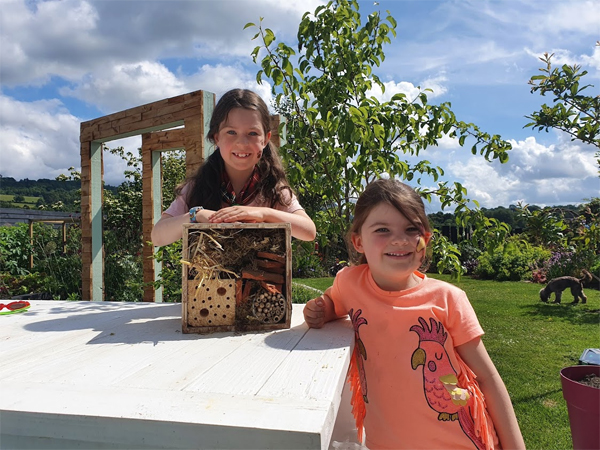
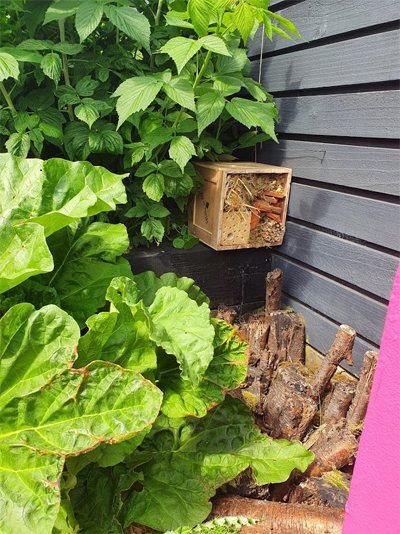
How To Make A Bug Hotel
Bug hotels are a wonderful additions to any garden. They can be made with lots of things you can find in your garden or on a walk round the woods. Not only are they a lot of fun to make, they provide a safe habitat for lots of beneficial insects to shelter in. You could attract all sorts of guests from ladybirds to lacewings, beetles to bees. Here’s how to make a bug hotel…
You will need:
- An old wooden box or some wood to create one
- Broken pieces of pots
- Pine cones
- Moss
- Straw
- Old tin can
- Bamboo canes
- Piece of wood for drilling
- Hammer and nails
- Drill
To make:
1. Find an old wooden box you don’t need anymore or make one using some old off-cuts of wood. This is your structure which you will fill with lots of lovely things. It can be whatever size or shape you wish.
2. Get some wood and drill different sized holes to attract bees.

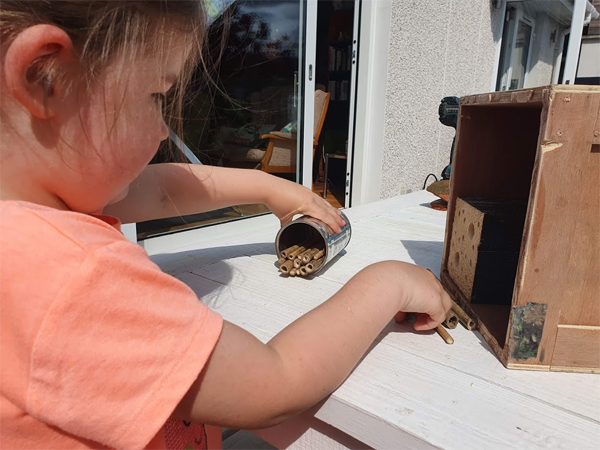
3. Fill a tin can with some cut up pieces of bamboo cane.
4. Stack some broken pieces of terracotta pot or slates inside your box
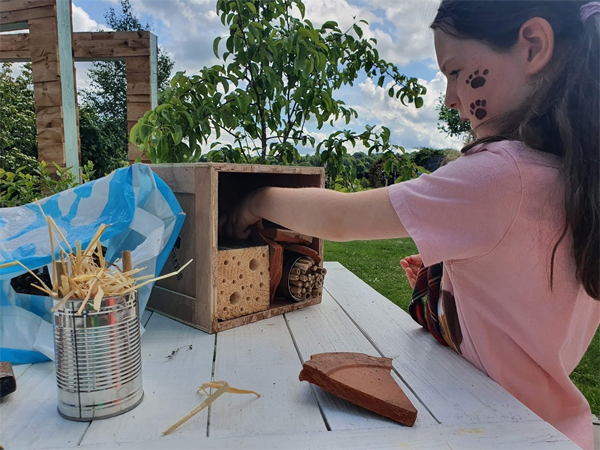
5. Stuff pine cones, straw and moss into the spaces.
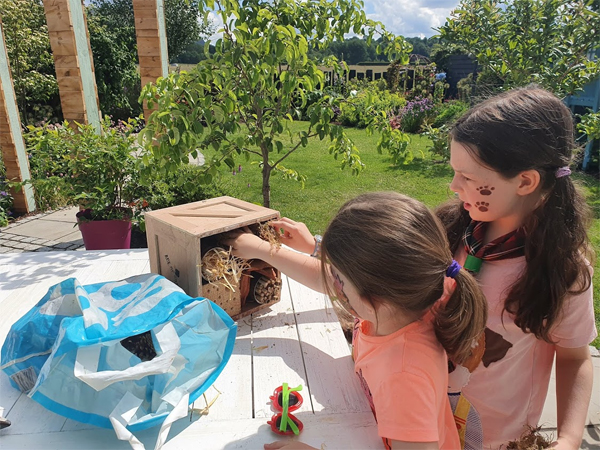
And there you have it, a 5 star hotel, suitable for the most glamorous of bug guests! Pop it into a quiet corner of the garden and you will soon be fully booked!
For more tips on building bug hotels visit our previous blog on bug hotels:
Thanks for reading
All at Vialii
Garden Furniture Makeover
If you know anything about us then you will know we love a wee makeover project and saving things from landfill and giving them a new lease of life. Let’s face it we’ll all get a bit old and rusty one day but we’re not ready for the rubbish heap yet! So when we came across this sad, rusty old bistro set we thought, “Hey, we can turn you into something beautiful and functional again”. And so we did. Here’s our guide to a simple wee garden furniture makeover…
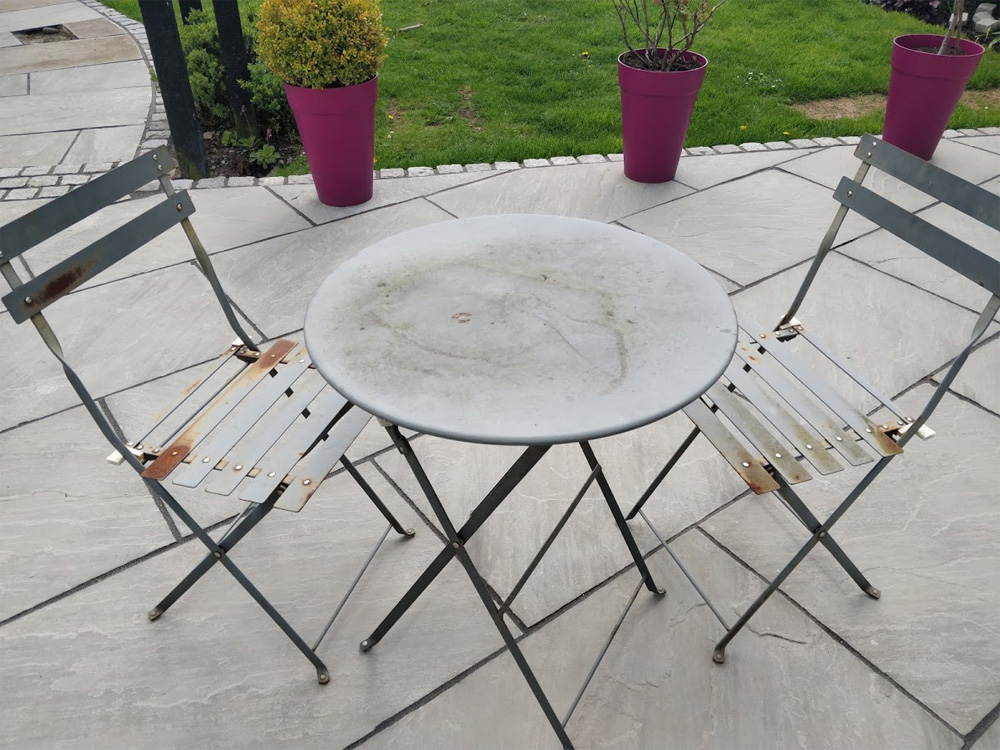
A rusty old bistro set needing some TLC
You will need:
- Garden furniture
- Sandpaper / sanding tools
- Primer
- Paint
What to do:
1. As with all these types of upcycling projects, the “prep” stage is always the most boring, ahem I mean important! We spent a lot of time rubbing down the tables and chairs and removing rust and making the furniture as smooth as possible.
2. Next came the coats of primer. You will need to give at least two coats – the more the better really and the less chance of the rust coming back through.
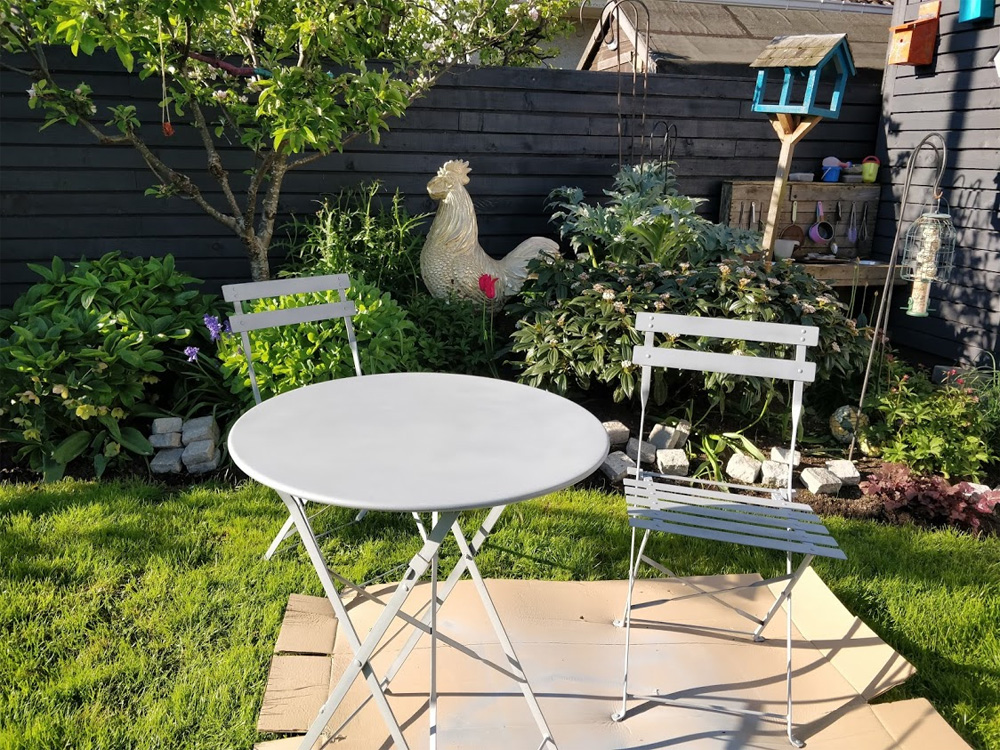
The primer stage is crucial to helping keep the rust at bay and the new paint hold
3. And finally, the exciting part, the top coats! We chose a mustard yellow spray paint. You could equally used a brush on paint if you prefer. Again, you will need a minimum of two coats for a good coverage.
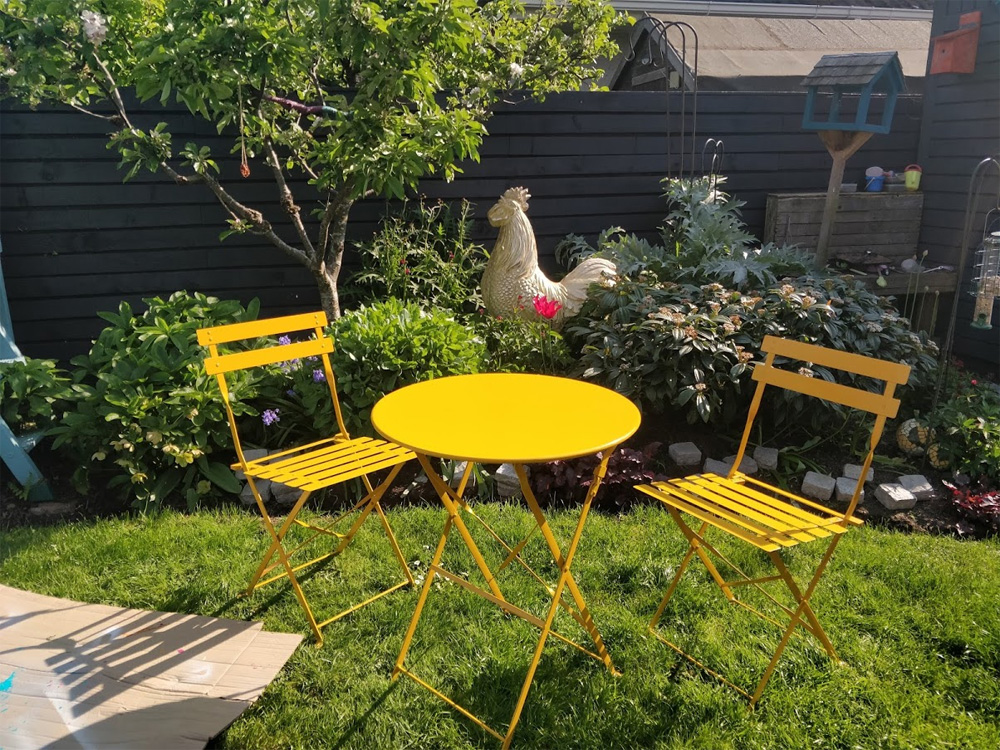
A lovely yellow paint adds a colourful splash of colour to the table and chairs
And now it’s time to sit down and enjoy your hard work and pat yourself on the back for saving more rubbish ending up in landfill.
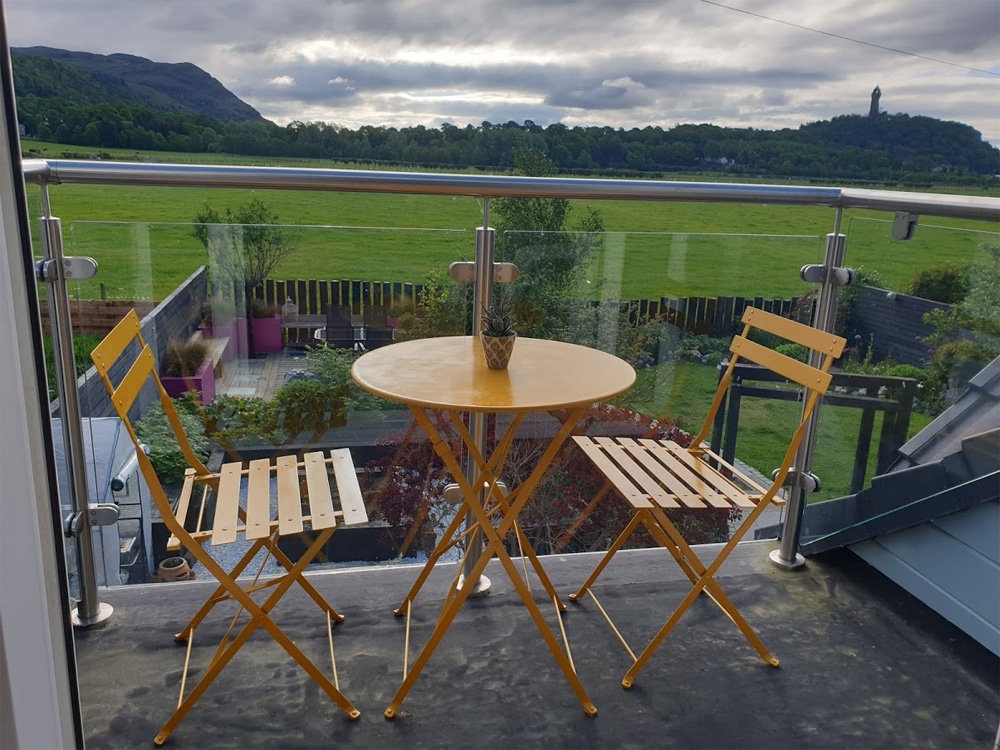
Our “new” furniture fits perfectly on our wee balcony
I wonder what we can upcycle next…
Vialii