A (Light) Bulb Moment – Planting Spring Bulbs
Monday, 21 October 2013
Now is the perfect time of year to get outdoors, plant some bulbs and then sit back and wait for a Spring Spectacle! Here are my top tips for planting spring bulbs. I have also included a wonderful craft project, perfect for children who love gardening and art, so you can make your own daffodil to brighten up your home through winter while you are waiting on the real ones to spring to life.
Be Prepared
Now, I ain’t no Boy Scout (I will be joining Beavers when I’m bigger though!) but when it comes to bulbs I agree with their motto “Be Prepared”. Bulbs like well drained soil so if you have heavy soil add a bit of grit to the area when you are planting. A small handful at the bottom of your planting hole is always a good idea too. And make sure you have given your garden a good old weed and tidy before you plant your bulbs too in order to give them the best possible start.
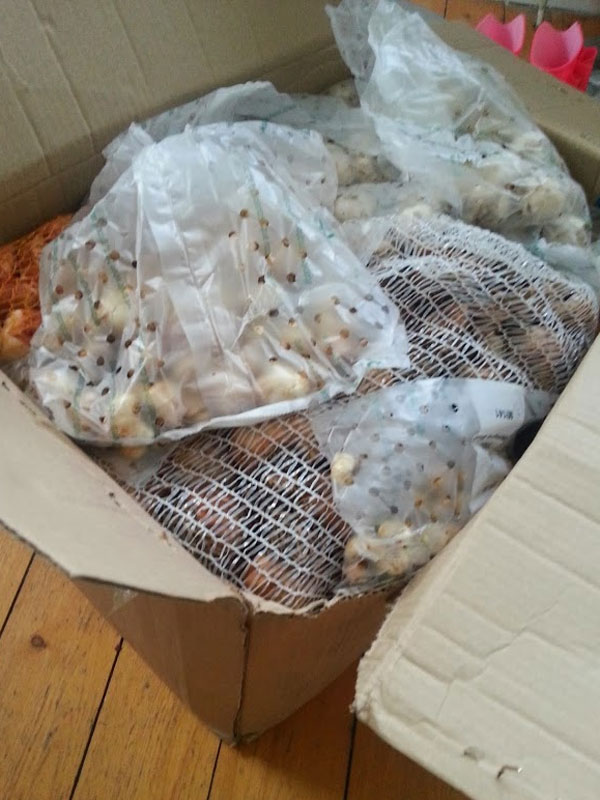
That’s a BIG box of bulbs to plant!
No Soggy Bottoms
Now, a bit like in “Great British Bake-Off”, we don’t want any soggy bottoms on our bulbs. Give the bulbs a squeeze before you buy them and make sure they are nice and firm. If you are digging out old bulbs from the shed, discard any that are soft, mouldy or shrivelled.
The Only Way Is Up
It might sound silly but plant your bulb the right way up. The top is the pointy end. The bottom is the round, hairy end (bit like my Daddy, tee hee). If you are not sure plant them on their side as they will turn themselves round the right way as they grow (aren’t plants clever?!) Some small bulbs such as fritillaria are often best planted on their side, especially in heavy soil, to stop water getting into the bulb and causing it to rot before it has become established.
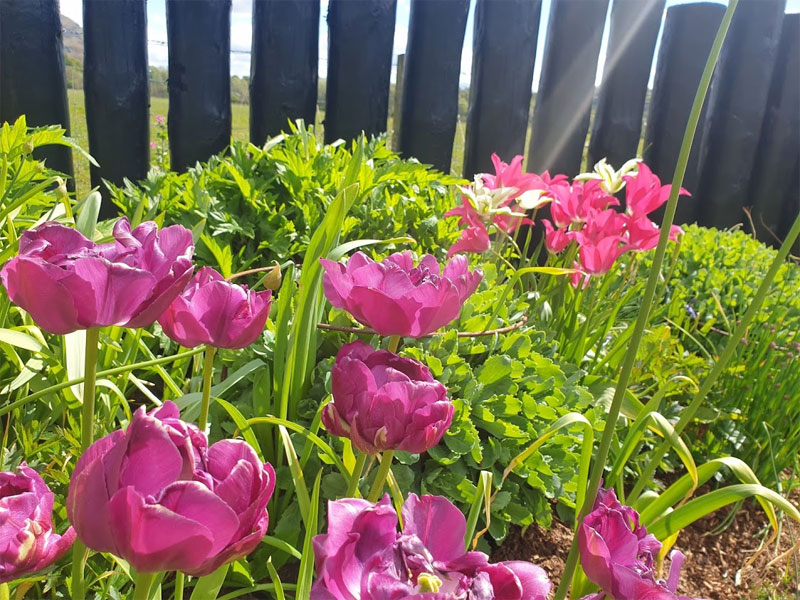
Beautiful tulips in the sunshine
Label ‘Em
It’s not just our nursery/school stuff that needs labels on them, plants need labels too. A little discreet wooden label won’t be offensive and will help you avoid putting a fork through your prized Allium bulbs 🙁
Dig Deep
As a general rule, plant bulbs two to three times their own depth and around two bulb widths apart. Replace the soil after planting, breaking down any large clumps and firm in gently, making sure there are no air spaces around the bulbs.
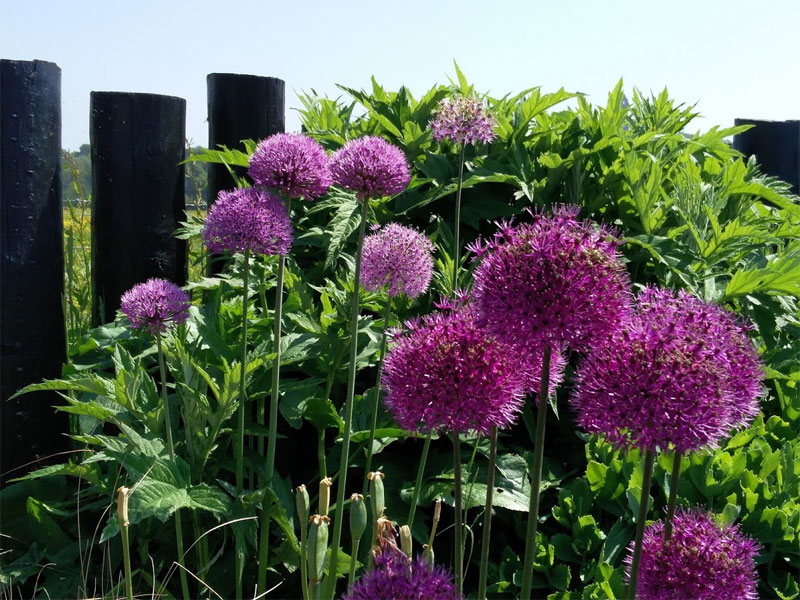
Allium Purple Sensation
Repeat After Me
After flowering, remove the seed head and wait for the foliage to yellow and die back, then lift the bulbs, clean off any soil and store in boxes or net bags in a cool, dry place. Remember to label them too! Next year you will have lovely, fresh bulbs and you can start again. You can leave the bulbs in the ground but they will eventually start to rot and die.
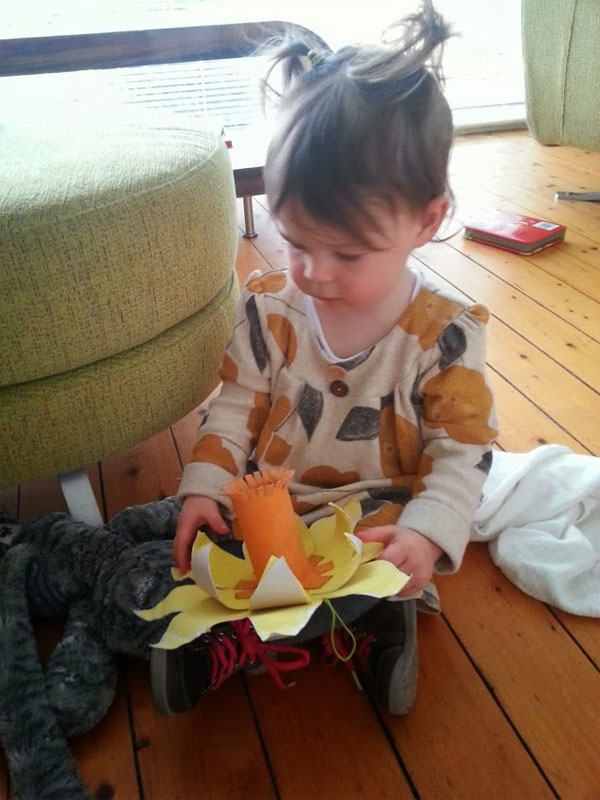
So there you go, a cheap and easy way to create a wonderful display in Spring and brighten up our days. But it will be a while before these beauties are ready so in the meantime M&D and I have put our heads together and come up with a wonderful craft project inspired by one of the most popular bulbs – the Narcissus. Or Daffodil to me and you!:
Make A Paper Plate Daffodil
You will need:
- Two Paper Plates
- Toilet Roll Tube
- Pencil
- Scissors
- Selection of yellow and orange paints and papers
- Glue
- String or ribbon
To make:
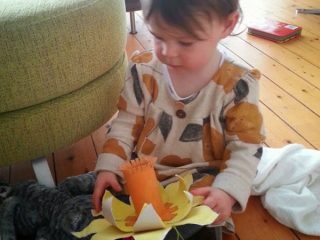
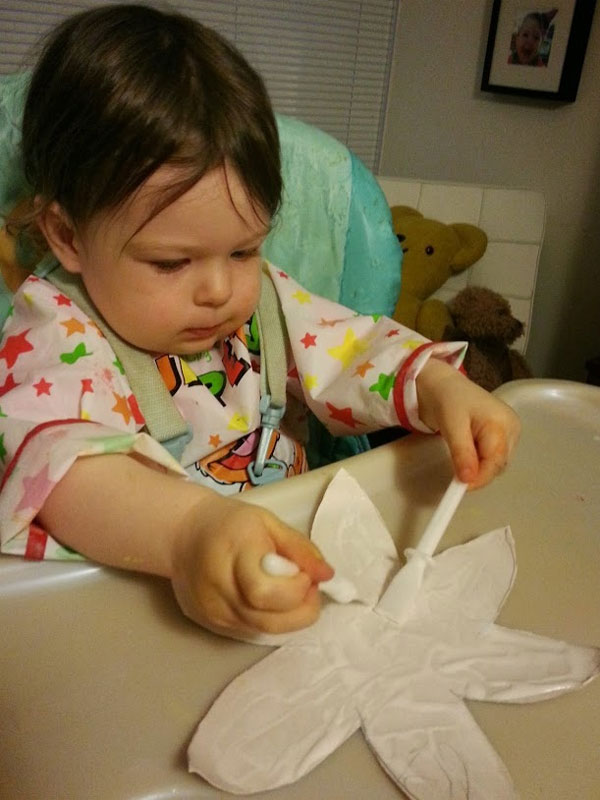
1. Take one of your paper plates and on the reverse side draw the outline of your daffodil shape. Ask your grown up to cut this shape out, then paint it a lovely bright yellow.

Painting the flower is a lot of fun
2. Take the other plate and draw a similar daffodil shape but slightly smaller and this time draw it on the correct side of the plate. You can paint this one the same colour, or add on some coloured paper to give a different texture. We chose some lovely yellow crepe paper to glue onto the plate.
I liked adding the glue to the flower
3. Stick your two plates together. You will now have a lovely 3D effect because the plates have been used opposite ways:

Stick the two flowers together
4. You now need to make the daffodil’s trumpet! To do this get a toilet roll tube. Ask a grown up to cut approx 2cm deep slits, approx 1.5cm wide, at one end of the tube (you will have roughly 9 “tabs” when you have finished. On the other end cut lots of slits to make a fringe effect. Once this has done paint the inside and out orange:
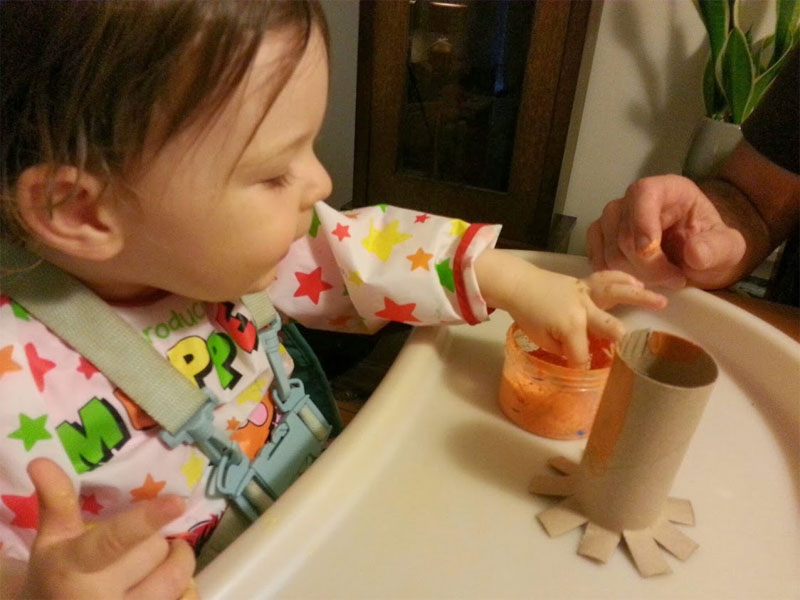
Yay, more painting!
5. Once the trumpet is dry glue the tabs and stick it in the middle of your petals and glue a loop onto the back to hang it up:
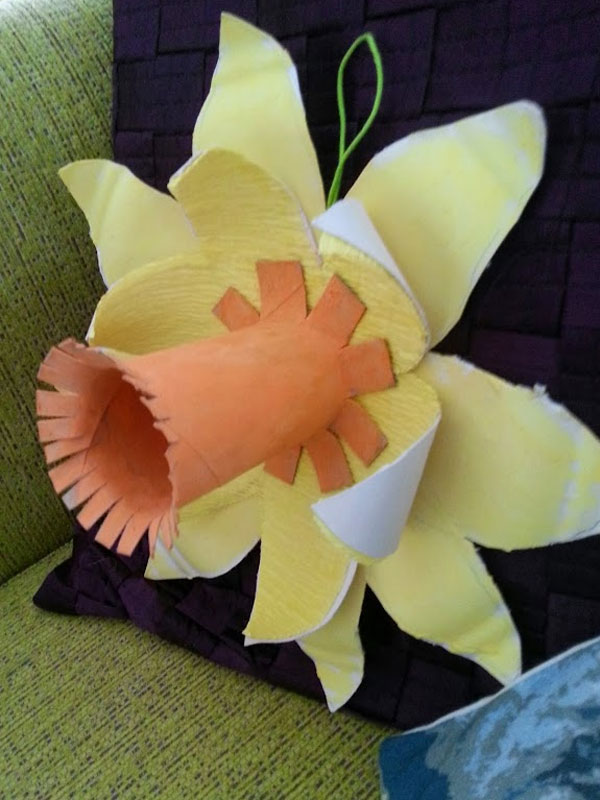
The finished daffodil to keep us cheery all winter ;
If you need any more advice on bulbs or would like to contact us about getting some planted in your own garden then please get in touch.
Lulu
Search Blog
Recent Blog Posts

Raise The Roof
We’re a big fan of raising the canopies of shrubs at Vialii. In this blog we’ll tell you why that’s...

Marvellous Machair
We had a stunning trip to the Outer Hebrides this summer and fell in love with the landscape there –...
Beautiful Barca
We were lucky enough recently to visit beautiful Barcelona for a long weekend. We did of course do the usual...

Essential Lawn care
With spring fast approaching our garden maintenance team are at the ready to help keep your gardens in tip top...
Spring Forward!
Now that we are occasionally getting some sunny days, it is the perfect time to “Spring Forward” and start venturing...