Sowing The Seeds Of Love
Hi everybody! It’s less than a month ’til the official start of Spring which is super-exciting! Already plants are pushing through the ground, buds are appearing on shrubs and slowly the garden is waking up from its winter sleep. Let’s have a big stretch everyone as it’s time to dust down your seed trays, rummage through your seed boxes and get sowing. If you’ve never sown seeds before, don’t worry, I will talk you through the process, making it super-easy. Plus you don’t have to have any fancy equipment as I have some neat alternatives to share with you. Come on, let’s do it…

Collecting nasturtium seeds for next year is really easy!
Step One – Organise your equipment
If you are a professional like me you will have lovely seed trays to grow your seeds in. But I think it’s cool to grow them in other things which are lying around the house. I will tell you more about them later. But first things first, make sure you give your trays, cells and covers (or whatever you are using) a good old clean. It gets rid of nasty bugs which could affect your seeds. It’s just the same as us washing our hands before we eat, right?
Step 2 – Fill your containers with compost
It’s important to use a good compost which is meant for sowing seeds to give them the best possible start. This sort of compost is lighter and holds water better which means the seeds can grow more easily. Read your packets in case your seeds have special instructions. We used Verve Sowing and Cutting Compost (it has to be the 12L bags) as it’s a Which Best Buy.
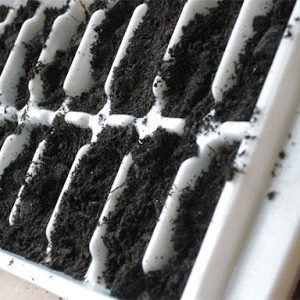
Fill your seed trays
Step 3 – Sow Your Seeds
Remember to read your packet and find out when and how your seeds are to be sown. Some like to sit on the top, some like a light covering. We have sown some of ours slightly early but we don’t have a heated propagator so that will be fine. Some of the seeds are teeny-tiny (like a Pontipine!) so you have to be really careful when you are handling them. I like the pumpkin and courgette seeds as they are big (like me!)
Step 4 – Label & Cover
Make sure you label your trays clearly so that you know exactly what is growing there. You could write the names or draw a picture of what it will look like. It’s important to label as whilst I love growing courgettes in the middle of our flower beds some people might not want their broccoli in a hanging basket 
Alternative Trays
If you don’t have seed trays there are lots of alternatives you can use such as plastic bottles, yogurt pots, tin cans, egg cartons, juice cartons, old boots, milk cartons or any old flower pots you have sitting around. To use a bottle, cut the plastic bottle in half long-ways (ask a grown-up to do this) to create a lid which you can easily flip up to water. Remember to put drainage holes in the bottom.
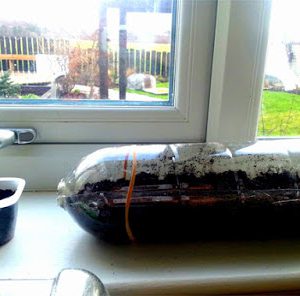
Use a juice bottle as a seed tray
So there you have it! And already, even in just a few days I can see my seeds starting to push through the soil. I have a selection of pretty flowers growing such as nasturtiums, poppies, sweet peas and cosmos as well as loads of different veg from courgettes and pumpkins to tomatoes (OK, technically a fruit) and broccoli. How exciting! Once your seedlings have developed their first true leaves and are large enough to be handled, carefully pot them into their own small pots. Be careful to handle them by the leaves or you may damage the stem.
Give on, give sowing some seeds a try. I promise you it’s waaaay more fun, more tasty, cheaper and better for the environment than relying on supermarket produce.
Hugs & kisses,
Lulu xx
Winter Jobs In The Garden
It looks like Spring hasn’t arrived quite yet but you know me, always desperate to get outside in the garden. There are always jobs to do, whatever time of year it is. I know ‘cos Mummy is always telling Daddy all about them 
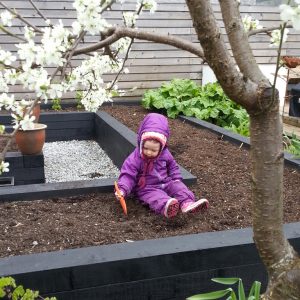
Get wrapped up cosy and get outside. It’s fun!
Clearing the veg beds out is a perfect job for winter.
Jobs for Grown Ups
- Jet-wash patios, driveways and decking (just like me they get terribly mucky and need a good wash!)
- Seal your deck and stain timber fences, sheds, raised beds etc (this preserves them and keeps them looking good for many years to come.)
- Paint anything that looks a bit tired such as rendering to the back of the house, rendered troughs etc. Why not choose a cool colour? Mummy is painting our troughs pink this winter, which I think is awesome!
- Mulch the garden – whether you choose compost, farmyard manure (pooeeee!), your leaf mulch or some bark, they will add essential nutrients to your garden and make plants grow well this year. Don’t forget to top-dress any pots too.
- Clear out gutters. Be careful up those ladders though.
- Prune trees (though not plum and cherry trees which should wait until summer.)
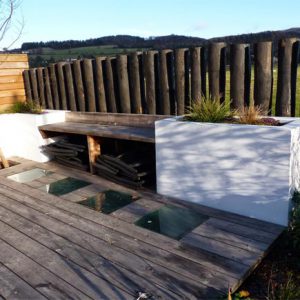
Mummy is going to paint these troughs pink.
Awesome. Wonder if she will add some glitter too…
- Clean out your water butt (ha ha, I said butt!)
- Prepare any new ground and do some double digging (I am happy to sit that one out, that’s proper hard work!)
- Make any repairs which are required to paths, sheds etc.
- Plant bare root trees, hedges and shrubs.
- Cut back overgrown shrubs and hedging before nesting period begins
- Use what’s lying about to make some interesting features around the garden. We are going to make some cool containers out of some old van tyres that we have and a bird table out of some old pallets and some cedar shingle samples. Watch this space…
Jobs for Littlies
- Clean old pots and seed trays. You will need these for the next job…
- Help sow seeds in trays. I am helping sow tomatoes, pumpkins, nasturtiums, sweet peas and cosmos to name but a few.
- Get your potatoes chitting! This means placing them on a chitting tray (or some empty egg cartons) in a cool, light place so their “eyes” start to grow. Weird!
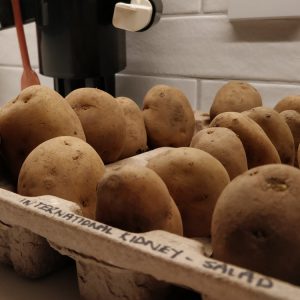
I’ve already got out potatoes chitting
away
- Help clean the garden tools and get the shed/greenhouse ship shape for Spring.
- Give the garden a good general tidy. I like doing jobs like “combing” the ornamental grasses which takes out dead bits. It’s like being a hairdresser!
- Feed the birds. Our feathered friends need even more TLC in winter so make sure their feeders are full and clean.
- Clear out the veg patch ready for the new crops which will be sown soon.
- Run around and have lots of fun!
An Apple A Day…
Hi everyone! All my regular blog followers will know I love apples, especially the ones you can pick straight off the tree and eat there and then. There is nothing quite like picking your own apples and eating it right away. If you’re not as lucky as me to have apple trees in your garden, don’t worry, now is the perfect time to plant your very own apple tree and you could be picking your own this summer! Here is my list of the best apples to grow in your garden so you can easily have an apple a day…

Once your apple tree is established, remember to keep it pruned to make sure it stays healthy, looks pretty and provides the best possible crop. To read all about how to do that then click here.
If you have a lot of apples or your little one isn’t big enough to eat apples straight off the tree, turning them into a yummy puree which can also be frozen is a great idea.
Happy growing and remember to eat an apple a day!
Hugs & kisses,
Lulu xx
Lulu & The Sunflowers
As I might have mentioned last week, IT’S MY BIRTHDAY! I am now a big, grown up two year old. I don’t know where the last year went. Mind you, at least I can read back on my blogs to see what I have been up to 
Now, as I am taking part in this competition too (no show without punch!) I don’t want to give away too many tips to the opposition. But, I am taking my chances ‘cos I know that you, my lovely readers, all want to hear my top ten secrets for growing sunflowers…
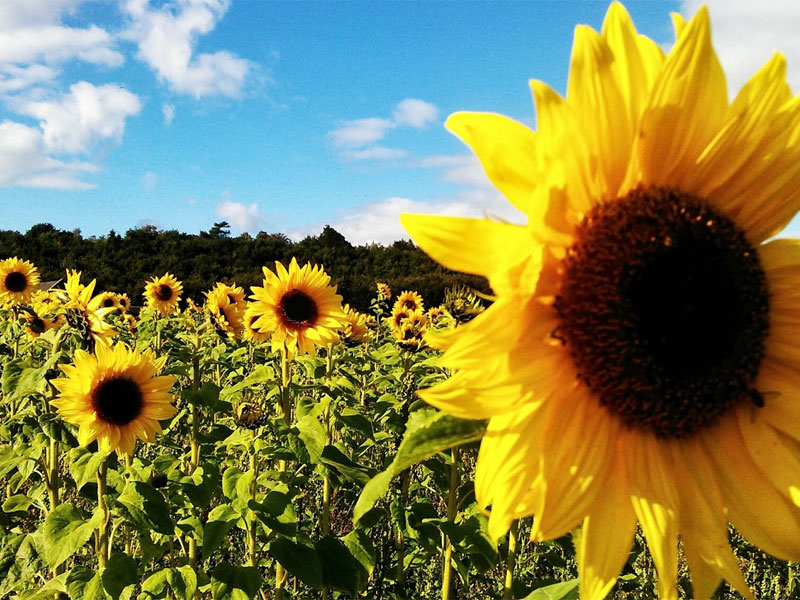
Is there anything as cheery as sunflowers on a sunny day?
- You can plant your sunflower seed straight out where you plan to grow it. You need to wait until the last frost has passed though. Just dig over the soil and remove any weeds.
- If you don’t have anywhere in the garden to plant your seeds, don’t worry you can plant them in pots too, just make sure there is plenty space for the roots to grow.
- Sunflowers like lots of sun (isn’t that a coincidence Mummy?!) so choose your spot carefully.
- Dig a drill about 12mm deep
- Plant your seeds, leaving about 10cm between each one
- Cover your seeds with soil then water them gently. You will need to keep them well watered.
- As they grow, if they are too close together then thin out your sunflowers so they are 45cm apart, leaving the strongest seedlings.
- You may need to protect young seedlings from slugs and snails. If you cut the top off a plastic bottle you can use that to protect them.
- As your sunflower grows you will need to give it some support so add a cane and loosely tie the seedling to the cane.
- Sit back and watch your sunflower grow. And grow. And grow. And grow. And grow…
And remember, after your sunflowers have finished blooming, leave the flower heads so the birds can feast on the seeds.

I’m aiming high with my sunflowers!
I can’t wait to get started. I am soooooo going to win this competition! I’ll let you know later in the summer how everyone got on. Remember to send in pics of you with your sunflowers in the summer, I would love to see them.
Lulu
Birthday Carrot & Pineapple Muffins
It’s officially birthday season, hooray! I have been at birthday parties the last two weekends to celebrate with my lovely friends. What is even more exciting is there is another party this weekend and it’s mine! I will officially be a big girl – I, Lulu Ann Burt, will be TWO years old! As you know I (with a little help from M&D) like to cook with lovely things from the garden and that goes for birthday baking too. Here is one of the lovely treats in store for party-goers this weekend – carrot & pineapple muffins!
Carrots are a main ingredient of what I am going to tell you about today. Carrots store really well and you may be lucky enough to still have some left from your own garden. I love growing carrots – my top tips for growing carrots are:
- Grow them in a sandy soil. If they hit stones they will grow in very funny shapes!
- Sow your carrot seeds as thinly as possible. This means you will need to do less thinning and thus there will be less risk of them being affected by pests.
- Keep the carrots well watered (so you get lovely juicy carrots in the end!)
- Protect your carrots from carrot fly with a 60cm high polythene or cover with an insect-proof netting.

I love a carroty nibble! And look, my hair even looks like a pineapple!
Birthday Carrot & Pineapple Muffins
- 100g/4oz plain flour
- 100g/4oz plain wholemeal flour
- 1 tsp baking powder
- ¾tsp bicarbonate of soda
- 1½ tsp ground cinnamon
- ½ tsp salt
- 200ml/7fl oz vegetable oil
- 90g/3½oz caster sugar
- 2 eggs
- 120g/4½oz finely grated carrots
- 225g/8oz tinned crushed pineapple, semi-drained
- 100g/4oz raisins

Lulu
(1) If you want to make smaller ones you will need to reduce your baking time
Thanks to the very clever Annabel Karmel for coming up with this recipe. She rocks!
Fir Trade!
I am soooo excited. You may have noticed Santa is busy getting ready for Christmas and is making lots of appearances at garden centres, shopping centres and even on trains! There is only five weeks to go so you better get your letters written and brush up on your good behaviour. One of my favourite things about Christmas is the tree, especially trying to climb it! There are lots of questions about whether a real or artificial tree is better for the environment, which variety of real Christmas tree to get, how to stop the needles falling off etc. So as usual, I’m at hand to answer all your questions as well as give you a little Christmas Tree decoration project to do…

Daddy and I with a real Christmas tree
Real or Artificial?
Now whilst some may claim that an artificial tree is better for the environment as you re-use it every year, there is still a huge impact on the environment by making it in the first place. Most are made from PVC which, from an environmental perspective, is a pretty horrible material. When you are fed up with your artificial tree and you throw it out, it will likely linger in land-fill for CENTURIES – not a great legacy to leave behind! Also, there is the carbon footprint to consider as most of the trees are made in the Far East and have to be shipped over here.
At Vialii, we believe that a real Christmas tree is much more environmentally friendly as long as you buy it local to where it was grown and that there is a re-planting commitment for all trees that are felled. Plus they smell lovely! A good quality, freshly cut tree can last up to 6 weeks if well looked after so don’t worry that you can’t put your tree up as early as the fakers! If I’m not convincing enough, consider this…A study in 2009 (Ellipsos) concluded that a 7-foot cut tree’s impact on climate is 60 percent less than a 7-foot artificial tree used for six years.
Living Christmas Tree
You can buy a live tree (with roots) but you can only have it indoors for a very short time and you will need to keep it in a cool place as it will come out of its dormant phase (in other words wake up!) and may not survive when you plant it back outdoors in the cold. If you are putting a live tree back outside you will need to acclimatise it back into the cold. If you find a supplier of cut trees who will plant lots more trees for every one they sell we think that’s the best compromise.
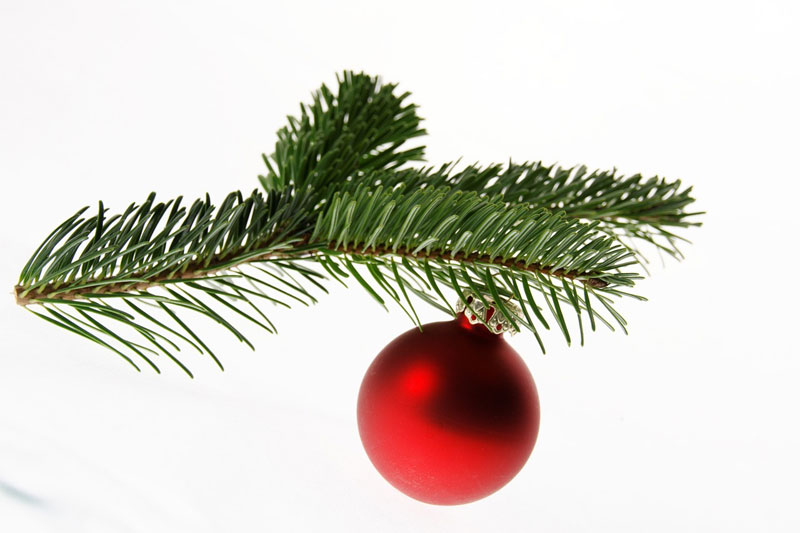
What’s the best type of Christmas tree for you?
What is the best type of real Christmas tree to buy?
OK, now that we have convinced you to get real, which variety should you opt for? Here are a few of the most common Christmas trees you will find for sale and some of their key features:
Nordmann Fir – the King of the Christmas Tree accounting for a huge 80% of UK sales. It has lovely deep green foliage on the top and blue underneath. It has lovely symmetry and shape and is less likely to drop its needles.
Norway Spruce – another popular choice and one which has a lovely smell. This one can be more likely to drop its needles so watch out and don’t buy it too early.
If you can find it, the Noble Fir is a great choice for needle loss, branch firmness, scent and the softness of the needles.
Fraser Fir – this one has a pyramid shape and soft needles which can be more family friendly. It has flat green needles and can be narrow making it a good choice to smaller spaces.
Top tips for looking after your real Christmas tree:
- Measure your space where the tree will be going (including the height) so that you buy the right size of tree (allow for a stand and a star on top!)
- Ask the retailer where the tree was grown and when it was cut.
- Give your tree a good shake. If the needles fall off then choose another.
- Lift the tree up. A freshly cut tree should feel heavy as it will have a high water content.
- Don’t buy a pre-packaged tree – you need to see it out so you can see the shape, make sure it has good symmetry, not too bare and will fit in your space. Most places will be happy to open up any that are already packed to let you see them and then re-wrap.
- Cut a centimetre or so off the trunk before bringing it in to the house to help it absorb water better.
- Choose a cooler corner of your room and make sure you water your tree EVERY day to minimise needle loss.
- Many charities sell Christmas trees so consider buying from one of these sources and spread some festive cheer.Remember to recycle your real tree once Christmas is over. Most councils will collect your tree and will then chip them and re-use the material as a mulch.
Now that I have helped you choose your Christmas tree, here is a fun project to make your own Christmas tree decoration…
Hand Print Santa Decoration
- Pencil
- Scissors
- White card
- Pink paper, card or paint
- Red paper, card or fabric
- Googly eyes
- Cotton wool
- Some ribbon, wool or string
- Glue
To make:
1. Ask your grown up to help you draw round your hand on some white card then cut it out. This will be the beard.

Draw round your hand on a piece of white card
2. Cut out an oval shaped face from the pink card (or use more of the white card and paint it pink or glue on some pink paper).

Here I am gluing some pink paper to my Santa’s head
3. Cut a hat shape from the red card (or use white card and glue on your red fabric/paper). Glue some cotton wool along the bottom of the hat and a cotton wool pom pom to the top.

Make your santa hat. I added some red tissue paper to mine and cotton wool.
4. Glue your cut-out hand (the beard) to the bottom of the face and glue the hat to the top of the face. Glue the googly eyes onto the face and attach the ribbon so that you can hang it on your tree.

I love a googly eye!
5. Hang your beautiful hand-made decoration on your tree. Lovely for Christmas and a wonderful keep-sake.

Our Santa Hand Christmas tree decoratio
Remember, don’t be naughty…I’d love to see pictures of your Christmas trees and your own hand made decorations so please send them to me.
Lulu
Thank you to Parents.com for the inspiration behind this decoration
A (Light) Bulb Moment – Planting Spring Bulbs
Now is the perfect time of year to get outdoors, plant some bulbs and then sit back and wait for a Spring Spectacle! Here are my top tips for planting spring bulbs. I have also included a wonderful craft project, perfect for children who love gardening and art, so you can make your own daffodil to brighten up your home through winter while you are waiting on the real ones to spring to life.
Be Prepared
Now, I ain’t no Boy Scout (I will be joining Beavers when I’m bigger though!) but when it comes to bulbs I agree with their motto “Be Prepared”. Bulbs like well drained soil so if you have heavy soil add a bit of grit to the area when you are planting. A small handful at the bottom of your planting hole is always a good idea too. And make sure you have given your garden a good old weed and tidy before you plant your bulbs too in order to give them the best possible start.
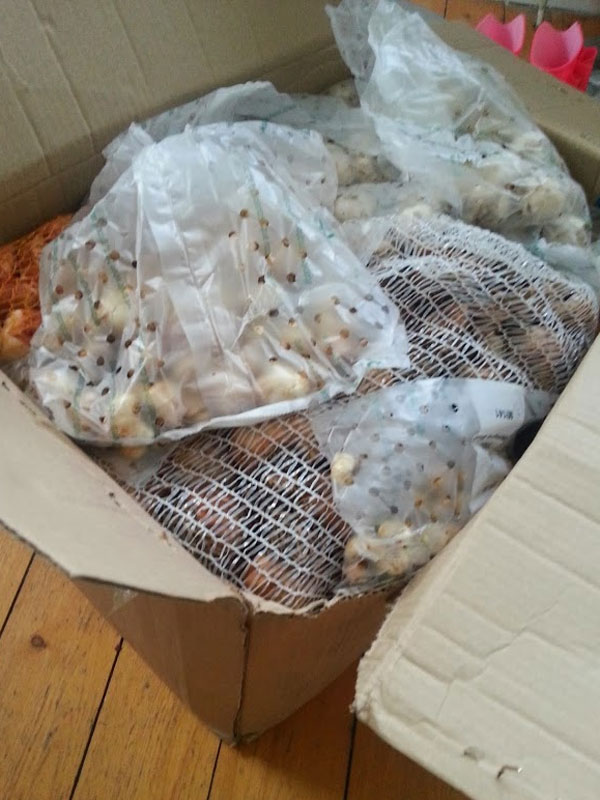
That’s a BIG box of bulbs to plant!
No Soggy Bottoms
Now, a bit like in “Great British Bake-Off”, we don’t want any soggy bottoms on our bulbs. Give the bulbs a squeeze before you buy them and make sure they are nice and firm. If you are digging out old bulbs from the shed, discard any that are soft, mouldy or shrivelled.
The Only Way Is Up
It might sound silly but plant your bulb the right way up. The top is the pointy end. The bottom is the round, hairy end (bit like my Daddy, tee hee). If you are not sure plant them on their side as they will turn themselves round the right way as they grow (aren’t plants clever?!) Some small bulbs such as fritillaria are often best planted on their side, especially in heavy soil, to stop water getting into the bulb and causing it to rot before it has become established.
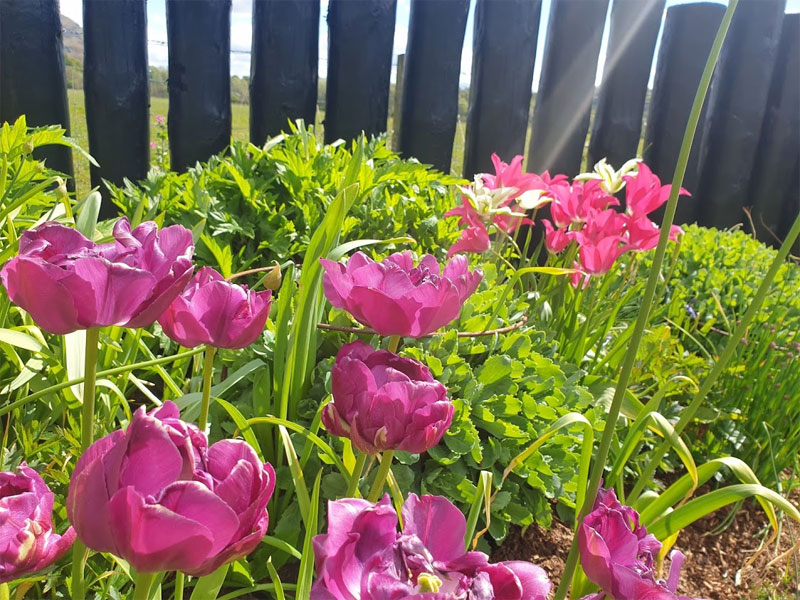
Beautiful tulips in the sunshine
Label ‘Em
It’s not just our nursery/school stuff that needs labels on them, plants need labels too. A little discreet wooden label won’t be offensive and will help you avoid putting a fork through your prized Allium bulbs
Dig Deep
As a general rule, plant bulbs two to three times their own depth and around two bulb widths apart. Replace the soil after planting, breaking down any large clumps and firm in gently, making sure there are no air spaces around the bulbs.
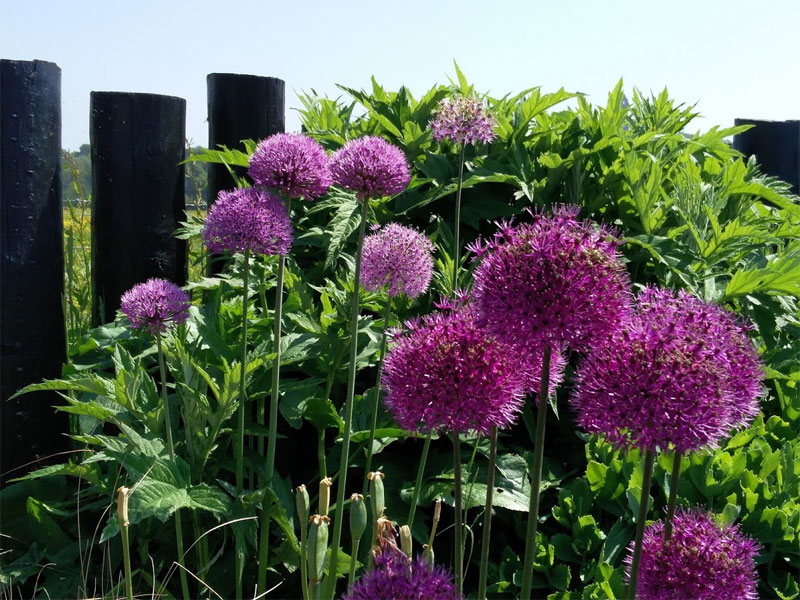
Allium Purple Sensation
Repeat After Me
After flowering, remove the seed head and wait for the foliage to yellow and die back, then lift the bulbs, clean off any soil and store in boxes or net bags in a cool, dry place. Remember to label them too! Next year you will have lovely, fresh bulbs and you can start again. You can leave the bulbs in the ground but they will eventually start to rot and die.
So there you go, a cheap and easy way to create a wonderful display in Spring and brighten up our days. But it will be a while before these beauties are ready so in the meantime M&D and I have put our heads together and come up with a wonderful craft project inspired by one of the most popular bulbs – the Narcissus. Or Daffodil to me and you!:
Make A Paper Plate Daffodil
You will need:
- Two Paper Plates
- Toilet Roll Tube
- Pencil
- Scissors
- Selection of yellow and orange paints and papers
- Glue
- String or ribbon
To make:
1. Take one of your paper plates and on the reverse side draw the outline of your daffodil shape. Ask your grown up to cut this shape out, then paint it a lovely bright yellow.
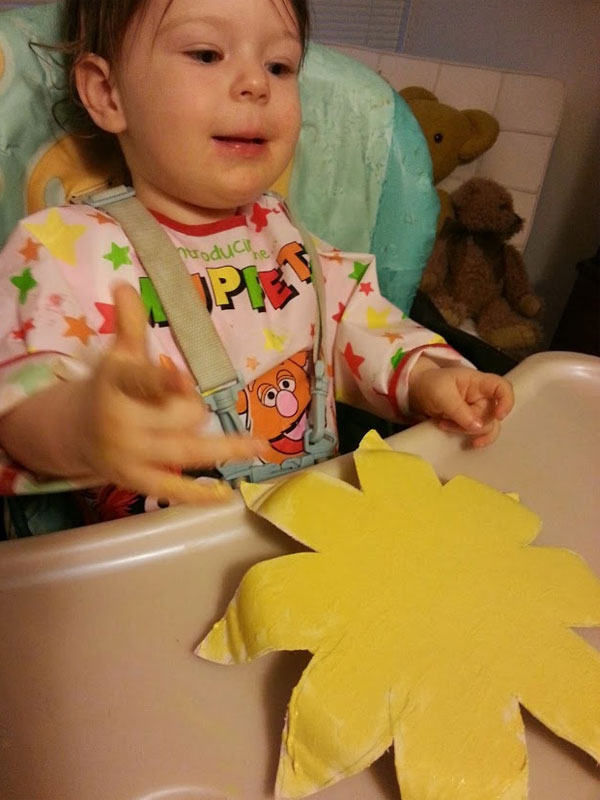
Painting the flower is a lot of fun
2. Take the other plate and draw a similar daffodil shape but slightly smaller and this time draw it on the correct side of the plate. You can paint this one the same colour, or add on some coloured paper to give a different texture. We chose some lovely yellow crepe paper to glue onto the plate.
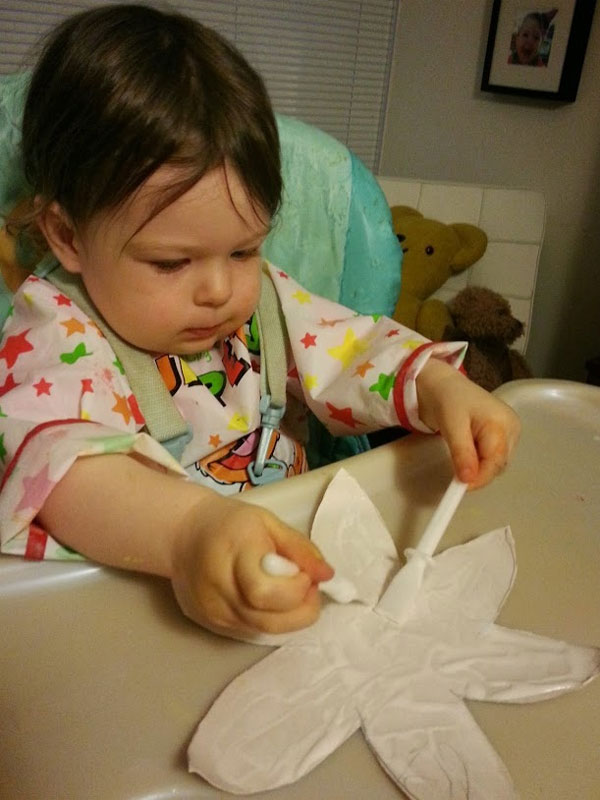
I liked adding the glue to the flower
3. Stick your two plates together. You will now have a lovely 3D effect because the plates have been used opposite ways:
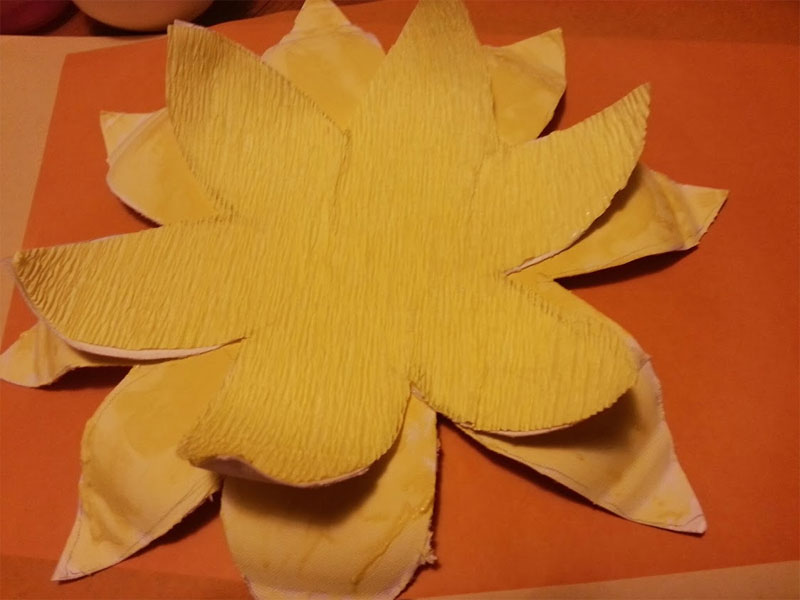
Stick the two flowers together
4. You now need to make the daffodil’s trumpet! To do this get a toilet roll tube. Ask a grown up to cut approx 2cm deep slits, approx 1.5cm wide, at one end of the tube (you will have roughly 9 “tabs” when you have finished. On the other end cut lots of slits to make a fringe effect. Once this has done paint the inside and out orange:
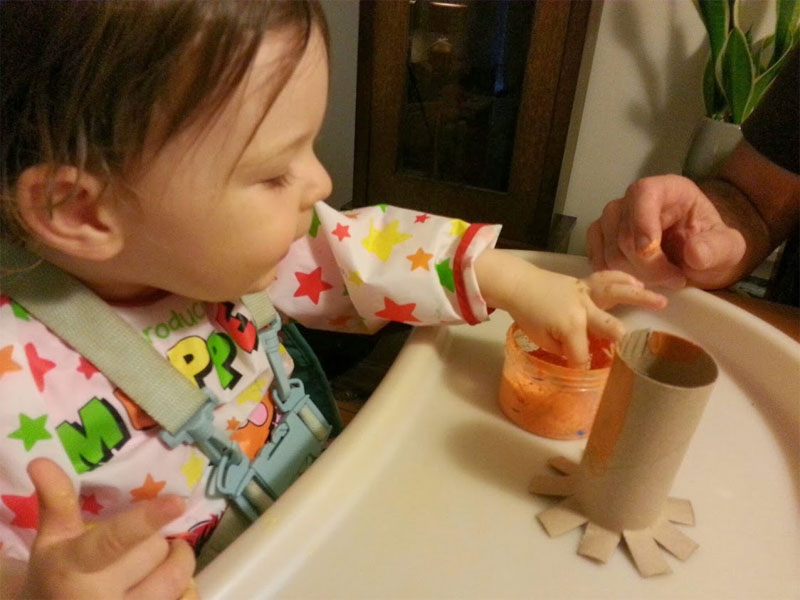
Yay, more painting!
5. Once the trumpet is dry glue the tabs and stick it in the middle of your petals and glue a loop onto the back to hang it up:
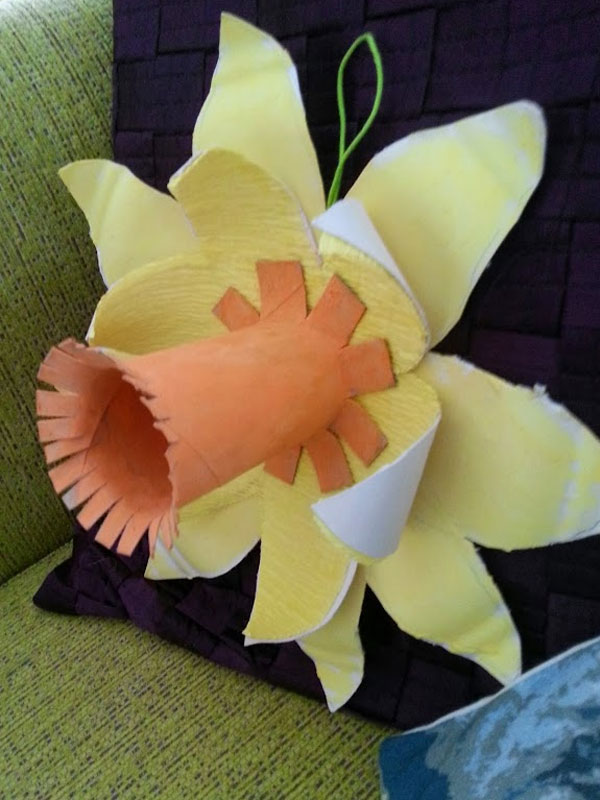
The finished daffodil to keep us cheery all winter ;
If you need any more advice on bulbs or would like to contact us about getting some planted in your own garden then please get in touch.
Lulu
Save The Snail!
Most gardener’s don’t like snails but I have a confession to make. I, Lulu Ann Burt love them! There, I said it! ‘Nails (as I call them) are funny creatures and I love hunting for them in the garden. I say Save The Snail! Trouble is they love eating the scrummy plants in the garden as much as we do! It’s important to try and help look after our prized plants so here are a few of my top tips on being snail-savvy in the garden as well as a brilliant project to make your own snail which won’t eat any of your prized hostas!
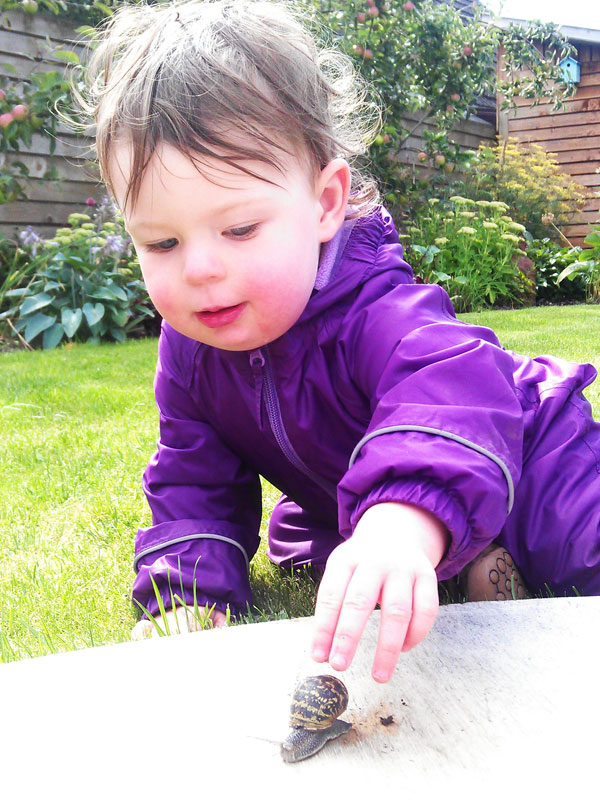
Me and my friend the ‘Nail
As I love snails very much and as M&D feel very strongly about being organic we don’t recommend putting down slug and snail pellets in the garden. These can be eaten by other animals or even children and can be very dangerous (as well as not very nice way to treat my friend the snail!) Here are some better ways to deal with them…
Ooh ooh, ouch!
Snails hate to crawl over anything scratchy so putting a ring of something like crushed egg shells or grit around the plants they most like to eat helps deter them. Watch out for any foliage that falls into the ring as that can be used as a bridge by the canny creatures.
Ring a ring of hostas
If you have your prized plants in pots which the snails are attacking, try putting a copper ring around the pot – the snails won’t want to crawl over it and your plants stay safe.
Snail hunting!
This is my favourite method – snail hunting! Swap your spade for a torch and get out at dusk and collect the pests yourselves. You will be amazed at how many of the wee beasties you will find!
Head out and do some snail hunting at dusk
Pull on the (fox)gloves
Sometimes you need to box clever and choose plants which snails wouldn’t have at their beastly banquet. Choose plants with scented leaves such as alliums, fennel and rosemary, plants with textured leaves such as lambs ears and lavender or plants such as ferns, foxgloves and camellias. All beautiful but relatively safe from unwanted intruders.
Cheers
A method well known in the gardening world is setting beer traps for snails. If your grown-up can spare some of their well earned bottle at the end of a day’s hard graft in the garden, ask them to sink a rinsed out empty can with some beer in it, into the ground. Snails are attracted to the smell and fall in the can and can’t get back out making it easy for you to dispose of them.
Nematodes
Some gardeners turn to a biological solution in the fight against snails. A naturally occurring nematode (a tiny worm) can be introduced into the gardener by adding it to a watering can. They contain bacteria which attacks and kills snails. It lasts for about six weeks and doesn’t affect anything else in the garden. Despite the name no toads are used in this method!
Nema-toads
As you can see there are lots of ways of tackling snails but I think one of the best ways is to attract beneficial wildlife that feasts on snails. If you have space for a wildlife pond you can attract frogs and toads which love a slug supper. Creating a log pile or leaving a corner of old leaves may mean a hedgehog sets up home in your garden and it will repay you by eating up these foe. Or make a bug hotel or encourage birds into the garden to help you in your efforts.
So, now you know how to keep snails out of your garden why not bring one into the house instead with this wonderful craft idea:
Make A Paper Plate Snail
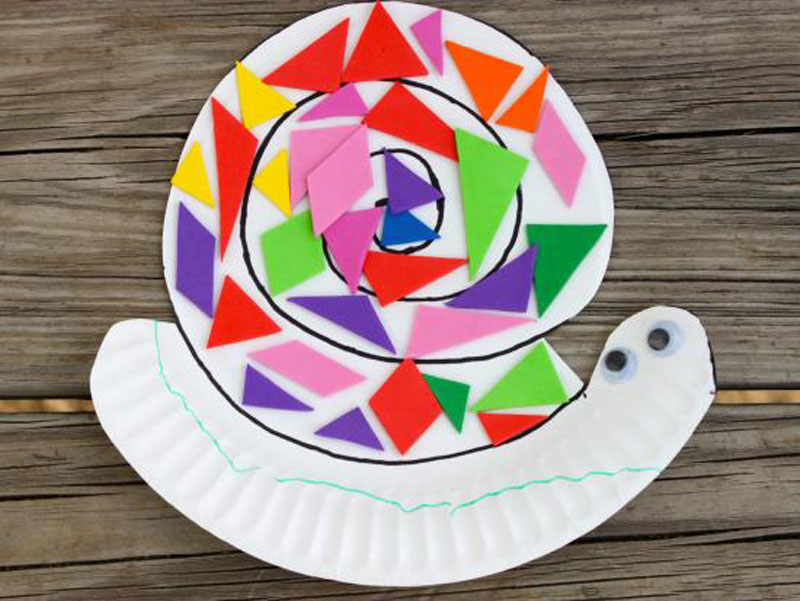
Make A Paper Plate Snail (Image courtesy of Kiwi Co)
You will need:
- A paper plate
- A marker pen
- Scissors
- Coloured paper or stickers
- Glue
- Paint
- Googly eyes (optional)
- Pipe cleaners (optional)
To make:
1. Draw this shape on the paper plate:
2. Cut off the top part of your paper plate to make the snail shape:
3. Use your coloured paper or stickers to stick shapes around the shell. Make your snail as funky and colourful as you wish. I liked learning about the different colours and shapes we were using as we did it
4. Finally paint the body, stick on (or draw on) your eyes and if you wish, add some pipe cleaners to make the feelers. And there you have it – a paper plate snail! All the fun but your hostas will stay safe
You can make themed snails too if you wish. Grandma and I made a lovely festive snail for Christmas!
Remember to email me photos of your snail creations or if there are other garden animals you would like to learn about and see a craft project on then let me know!
For more tips on garden pests visit our blog:
Vialii Guide To Top Garden Pests And Diseases
Lulu
Thank you to Kiwicrate for the inspiration for this craft project
Funny Pets In The Garden – Part 2
You all loved my first blog on the funny pets we have come across in gardens. So by popular demand I have written a second blog on this very cute & cuddly subject. Hee hee, they make me laugh every time I look at them 
This is the doggy which my good friend Georgia’s Mummy & Daddy used to have. His name is Murdo and he is very handsome! They now have another doggy called Sandy who I like to visit. Here is Murdo who has found a cool spot in the garden to sit:
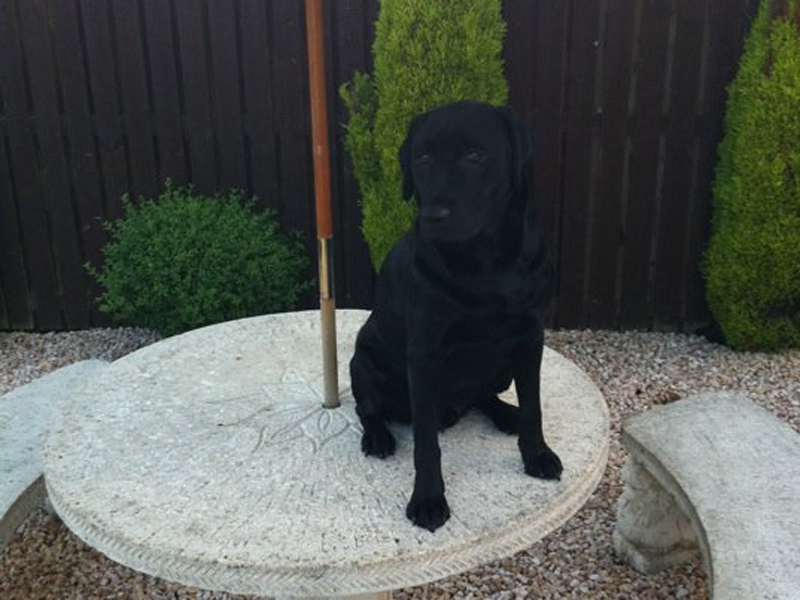
Murdo was a “hot dog” so found a place in the shade to sit!
Here we have my lovely friend Ruby. I have known her since she was teeny tiny. She is super cute! Here she is deciding that today she will have a picnic in her lovely garden:
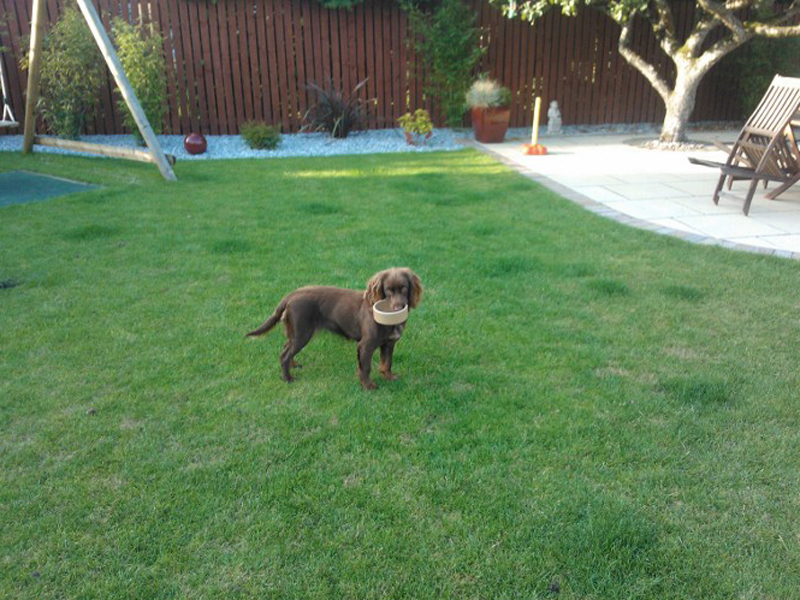
Ruby demands an alfresco lunch!
More doggies. This time it’s Simba and Harley who belong to Honor, Hope and Kai. I think they are practising their ballet moves together here!:
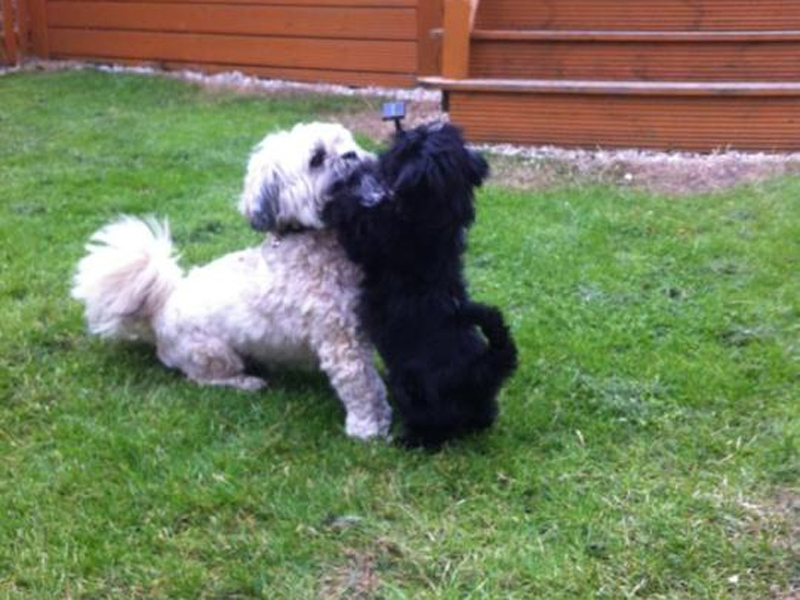
Simba helps Harley to perfect his”en pointe”!
Here’s a funny photos of Jasper who used to live next door to me. He’s really a Labradoodle but Calum decided Jasper was going to be a horsey instead!:
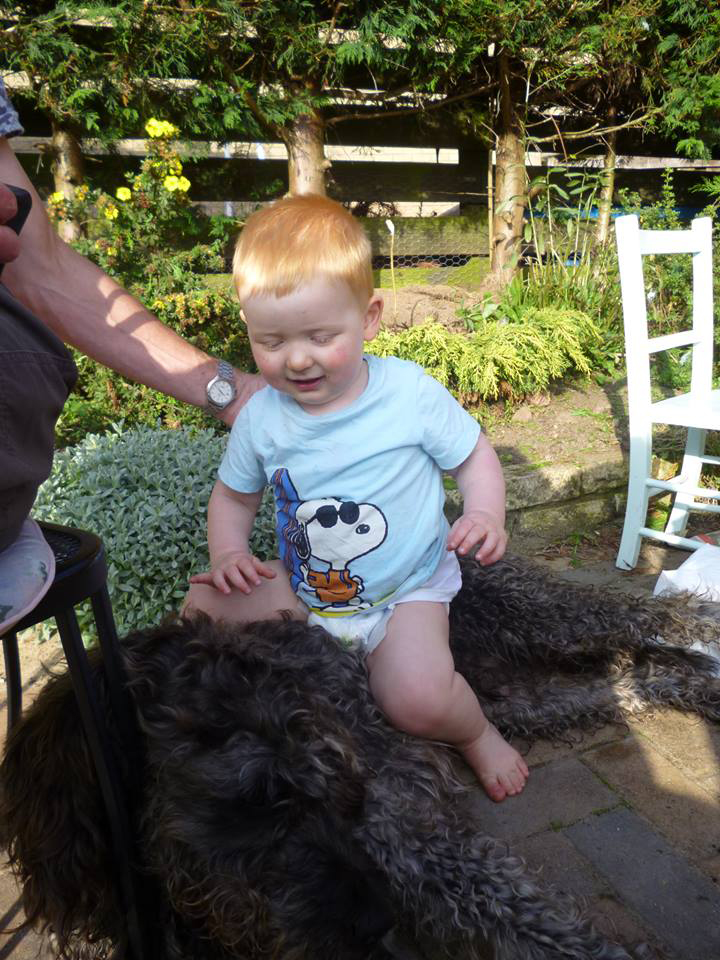
Gee up Jasper!
And finally, one last photo, again of Fudge. Whilst she isn’t in the garden this time, this photo was taken when it was really bad weather one winter. Daddy couldn’t get out into the garden so he stayed inside to do some work and Fudgey-doo-dee (and a funny beard) kept him warm!:

I’m not sure who is hairier in this photo, Daddy or Fudgey!
If you have funny photos of animals in your garden please get in touch, I would love to see them and share them on my blog.
Rhubarb Chutney Recipe
Hello again everyone and welcome back to my blog. One of the things my BFF Euan (1) has taught me is that food is important and very yummy! I have also learnt how to barter from Mummy (she used to work as a Buyer so is a very good negotiator). With these two skills to hand I recently did a wonderful deal with my lovely Auntie Alison over some rhubarb chutney…
Euan came round to play at our house a couple of weeks ago. We have a beautiful back garden which M&D (2) designed and built. In a corner of our garden we have a big clump of rhubarb. It really loves our garden and grows so quickly that M&D can’t keep up with it (a bit like me!) I therefore decided to cut a deal with Auntie Alison. I said I would give her a big bag full of rhubarb in exchange for some lovely chutney. Auntie Alison is a very good cook so I knew I was on to a winner. I even threw in a couple of turnips as a sweetener to the deal. She totally went for it! Yay!
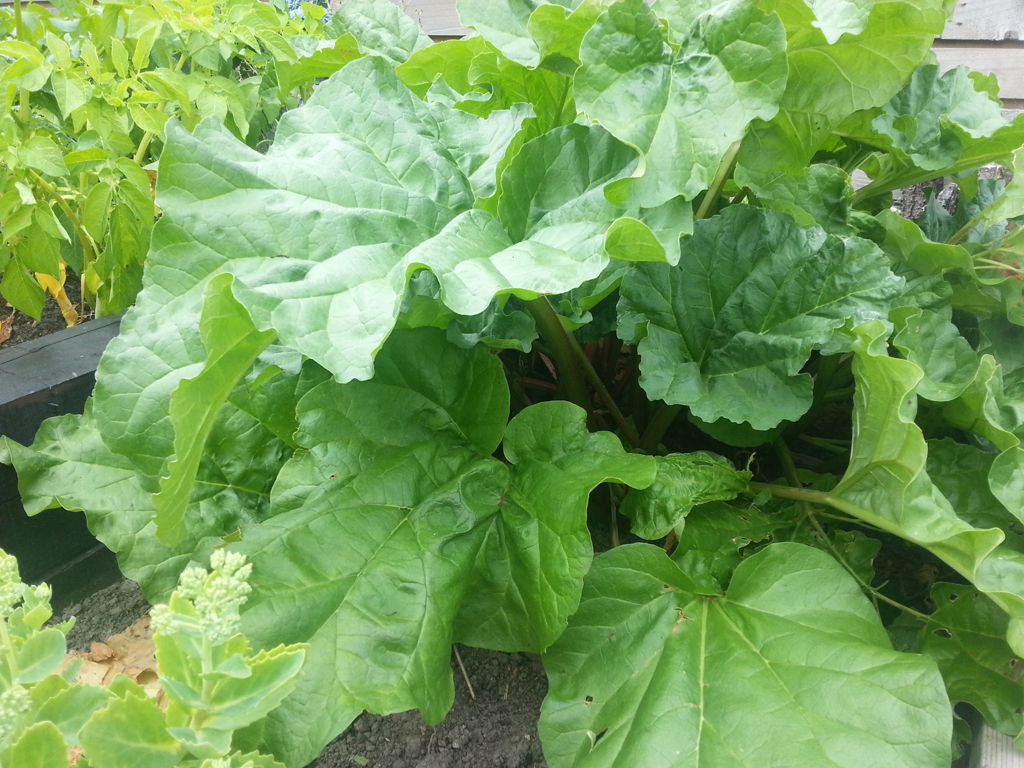
Our fab rhubarb patch
So, when I went to visit Euan in Glasgow last week Auntie A had a jar of Rhubarb, Date & Ginger Chutney all ready for me. Whoop whoop! So, if you have too much rhubarb in your garden and you want some lovely chutney here is the recipe. Remember you must always get your Mummy or Daddy to help in the kitchen…
Rhubarb & Date Chutney
(courtesy of the clever people at BBC Good Food)
Ingredients:
- 50g fresh root ginger, grated
- 300ml red wine vinegar
- 500g eating apples, peeled and finely chopped
- 200g pitted dates, chopped
- 200g dried cranberries or raisins
- 1 tbsp mustard seed
- 1 tbsp curry powder
- 400g light muscovado sugar
- 700g rhubarb, sliced into 2cm chunks
- 500g red onions
Method:
Put the onions in a large pan with the ginger and vinegar. Bring to the boil, then simmer for 10 mins. Add the rest of the ingredients, except the rhubarb, plus 2 tsp salt to the pan and bring to the boil, stirring. Simmer, uncovered, for about 10 mins until the apples are tender.
Stir in the rhubarb and cook, uncovered, until the chutney is thick and jammy, about 15-20 mins. Leave the chutney to sit for about 10-15 mins, then spoon into warm, clean jars, and seal. Label the jars when cool. Keep for at least a month before eating. (3)
Hope you enjoy making it as much as I love eating it! I like it best with some yummy bread and a chunk of cheese.
Try out these other amazing rhubarb recipes:
Lulu
1. Normally I don’t much like boys but Euan is pretty cool. For a boy.
2. To my lovely new readers, M&D = Mummy & Daddy
3. Pah, a month?!! There’s no way we could not eat this for a month! We are already half way through our first jar and I will soon be doing my Oliver Twist impersonation!
Sssshhhh. Lulu’s Secret Blog…

Hi, I’m Lulu and this is my blog
So what’ll I write about? Well, mummy & daddy (from now on I’ll refer to them as M&D) run two gardening businesses and love everything to do with gardens so from a very young age (I’m a big girl now, did I tell you I was 17 months old??) I have been out & about in gardens whether it be visiting them, tending to them or even designing them! The long & short of it is I’m beginning to garner quite a nice set of green fingers (and not just from my crayons) so I thought I’d use this blog to share the things I enjoy doing or the things I learn. I’ll show you pics of the gardens we visit (M&D are always taking pics of me so I’ll have plenty to choose from!) and tell you fun ideas for things to do with your mummies & daddies & friends in your garden. Sometimes I will give you advice and tell you things that only experts like me normally know but mummy says it’s important to share so that’s what I’m gonna do.
Lulu
Growing Our Own
This time last year we were in a bit of a tizzy as we had just had Lulu and every minute was taken up with our new bundle. We just about managed to throw a few seed potatoes and onion sets into our veg patch and not a lot else. Whilst family life is still our central focus we have managed to spend a bit more time in the garden already this year and started to get Lulu used to horticultural life. This weekend we managed to get all of our veg sown, and miracle of miracles it happened the same weekend as Monty sowed his on Gardeners’ World. (1). So here’s what we are looking forward to from our modest veg patch this year as we are growing our own…
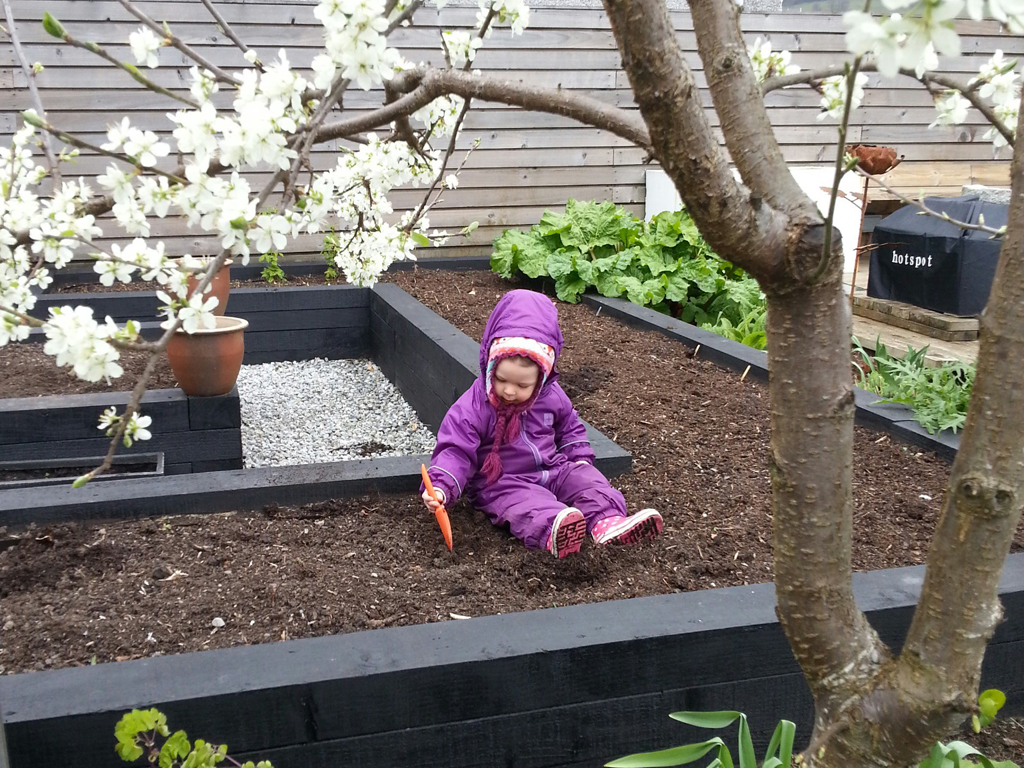
Lulu shows she’s willing to muck in and help
- Potatoes: Last year we grew “Maris Peer” potatoes for the first time and we really loved their waxy texture and nutty taste. Perfect for boiling. So this year we stuck with what we love and gone with that again.
- Onions: Nothing out of the ordinary here. “Sturon” as our white onion, Red Barons for our erm, red onion (!) and “Golden Gourmet” shallots.
- Salad Leaves. Just a general packet of “Cut n Come Again”. We have left space for sowing another row in a few weeks too for some extra summer salads.
- Wild Rocket. A lovely addition to the above in our salads, over pizzas, stirred into pastas etc.
- Radish “French Breakfast”. Think we’ll leave the French to have these for breakfast but we will certainly enjoy them in salads. And they grow so quick! We have left space for succession planting on these too.
- Spinach “Bordeaux”. We’ll use this in both salads and cooked.
- Sweetcorn “Sweet F1”. We have never successfully grown sweetcorn before so this will be an interesting experiment for us.
- Squash “Sunburst F1”. Another first for us so watch this space.
- Turnip “Purple Top Milan”. We lovely the sweetness of baby turnips.
- Beetroot “Boltardy”. A staple in the Burt household. Great for both cooking and pickling (2)
- Leek “Musselburgh”. We love leeks for both soups and general cooking.
- Spring Onion “White Lisbon”. Another great addition to salads.
- Parsnip “Palace F1”. Another newbie for us. We we were running out of space so we have planted a few seeds in a pot to see what will come of it.
- Pea “Ambassador”. A firm favourite and although we will get limited crops as they have just been planted into a couple of troughs we will enjoy what we do get.
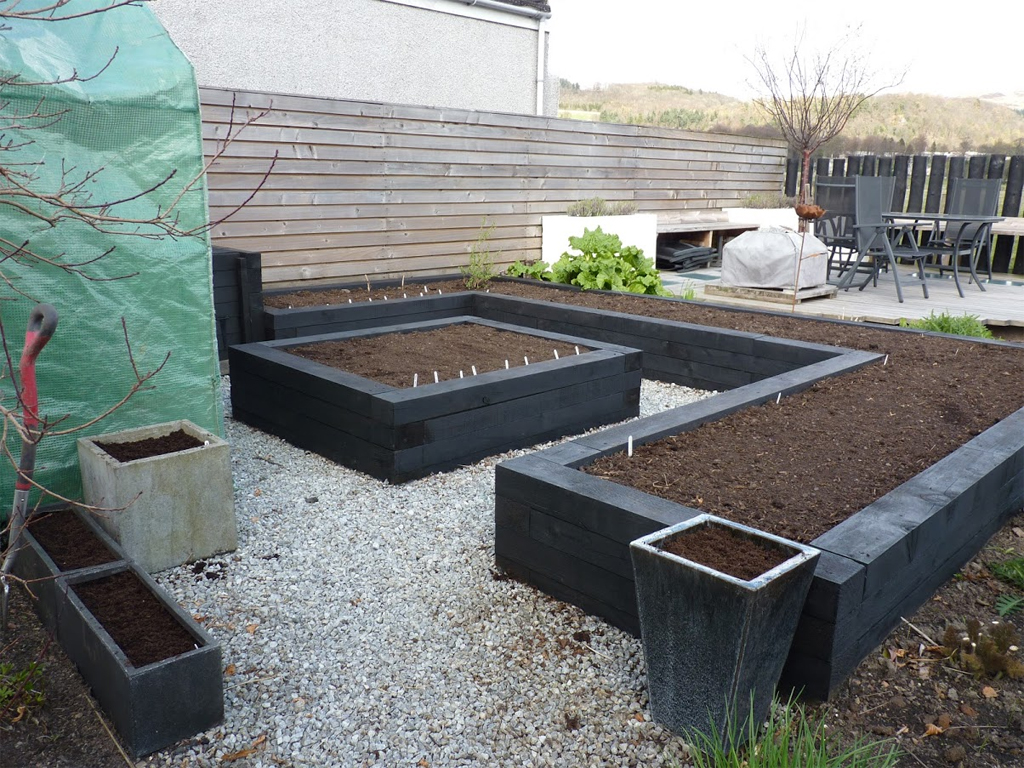
Our newly sown veg beds
Thanks for reading.
All at Vialii
If you need advice on planting veg or are interested in incorporating a “Grow Your Own” area into your garden please get in touch.
1. Only really because Monty, like the rest of country, was delayed by the awful Spring weather rather than us being organised but we will take it anyway! It will NEVER happen again!
2. Add a few of the shallots into the jar and a few peppercorns when pickling.
3. The gooseberry bush was a gift from our lovely neighbour who was getting rid of it.
4. We are hoping to get a decent crop of raspberries as Lulu LOVES them and is eating us out of house and home!
5.Our existing herbs are looking old and tired, a bit like the pots they live in. So our plan is to build some new pots from old pallets we have at our yard. Watch this space for a future blog on this subject…
5 Apps that help me run a gardening business (2013)
Evernote
- Taking notes and photos whilst on site using my phone. These could be for new job quotations, for plant identification etc.
- Whilst on the go I can draft to do lists or material schedules. Everything syncs with the office PC and tablet at home so wherever you may be you can access and edit your notes.
- To tie in with our social media obligations I use it extensively to save links to articles I’ve enjoyed. These then get posted or written about when I have a bit more time.
- It serves as a great digital repository for all my reading & writing.
Google Drive

Google Drive helps support the business
- Primarily I use it the same way I use Evernote by taking notes or drafting letters and emails when I’m out and about. I haven’t made the leap of using it exclusively for compiling our letters and spreadsheets as we still use Word, Excel etc but who knows, maybe some day.
- The most important use I have for it though is to compile garden worksheets listing all the items that need to be addressed in a particular garden. Google Drive then allows you to share a link to that worksheet with your client so they can also have a record of what was agreed. This worksheet is also then printed off for the maintenance team to take with them on the day they are doing that particular job. Basically, everybody then knows what needs to be done.
Dropbox

Dropbox is a useful program
- Our business has grown steadily over the last 7 years and with that comes logistical IT issues. We use Dropbox to share file structures in the cloud that can then be accessed from any computer. Not all files are kept in the cloud but those which we use regularily are and it saves us a lot of time and hassle by keeping them there.
- Folders can be shared with clients or staff and it can be a useful way of letting people access large or numerous files securely and without tripping up an email system.
- Our staff also upload garden before and after photos to a shared folder in order that we can then access them for putting on our website or social media pages.
Google Calendar
From the website – Organizing your schedule shouldn’t be a burden. With Google Calendar, it’s easy to keep track of life’s important events all in one place
- It’s vital that we can synchronise the Vialii scheduling and Google’s calendar allows us to do this. I can now access the same information when I’m out and about that Jill can access back in the office. No more calls or text to check availability. We still use Outlook at home the Google calender sync app keeps everything together.
- Another useful feature is the ability to add sub-calendars so I can plot project specific programming onto it’s own calendar and still have access to the information.
Google Reader
Blogger – The Android app is useful for drafting blog posts. Functionality is not great so I only use it for drafts and then carry out the finishing touches back at the office.
Camscanner – A great app for scanning in documents to your phone using your camera. Photos are converted into PDF files and can then be shared to the cloud.
Google+ – Not an app as such but Google+ is quickly becoming an increasingly important place to be, particularly with your business. Posts on Google+ can increase your ranking in Google search as can blog posts that you have compiled. I don’t know the technical ins and outs but I take it as read that a business needs to have a presence there.
