What We’re Growing in 2018
We LOVE this time of year as we see all the bulbs pushing through in the garden and the weather (hopefully) starts to improve. We have BIG plans to grow lots of lovely things in our garden this year to supplement the fruit trees, rhubarb, raspberries and blueberries we already have growing. Here’s what we’re growing in 2018 in our veg garden:
VEGETABLES
- Rocket ‘Speedy’ -Rocket has become hugely popular in the last few years, and we have to say its warm, peppery flavour works well with so many other salad ingredients. As its name suggests, this is a fast grower and one of the very best strains available.
- Shallot ‘Vigarmor’ – This modern French variety is well worth growing. Firm, pink flesh and a coppery tinge to the skin make these banana shaped bulbs very attractive as well as being crammed with flavour. High yields and a good storer too.
- Garlic ‘Solent Wight’ – This superb, softneck strain yields large, high quality bulbs with a fragrance which is both long and strong.
- Onion ‘Hercules’ – Gives high yields of almost spherical bulbs with rich, golden skins and firm, well flavoured flesh. Hercules shows very good resistance to bolting and will keep for several months.
- Onion ‘Red Baron’ – Onion Red Baron AGM is the best red-skinned variety, the attractive, crimson-skinned bulbs when sliced reveal contrasting red and white rings, making it most attractive on the plate. Red Baron has a lovely, robust flavour and is a remarkably good keeper.
- Leeks ‘Porbella’ – Remarkable for its heavy yields of very upright shanks, which can be lifted from October right through to February, Porbella stands in good condition for months and shows good resistance to rust.
- Lettuce ‘Salad Bowl Mixed’ – These widely grown varieties are two of the very best loose-leaf lettuces. Simply cut and come again.
- Carrot ‘Nandor’ – This high quality Nantes hybrid has superb resistance to carrot fly. Quick maturing and can withstand variable weather conditions which make this an ideal variety for the UK climate.
- Chard ‘Perpetual Spinach’ – Worthwhile spinach-alternative which does not run to seed even on dry soils. High yields of large, dark, fleshy, tasty leaves produced over several months.
- Onion (Spring) ‘White Lisbon’ – Regarded by many as THE spring onion, it is a fast grower and has a great taste.
- Radish ‘Solito’ – A new red radish, crunchy and with a delicious flavour. This variety will mature in just over three weeks. Very uniform and up to 40mm in diameter. Has a fine tap root, good tolerance to cracking and high resistance to Fusarium.
- Courgette ‘Tuscany’ – Well suited to the UK climate, this vigorous variety produces few spines so it’s easier to pick. It has resistance to powdery mildew and yields a large supply of very dark straight fruits. Has firm flesh and excellent flavour.
- Beetroot ‘Bulls Blood’ – Grow as cut-and-come-again salad leaves with a mild beetroot flavour. The deep red foliage can be cut back to the ground three or four times and the colour intensifies as autumn approaches. The roots can also be eaten.
- Beetroot ‘Boltardy’ – Beetroot Boltardy can be sown earlier than most other varieties with little fear of bolting. The roots are deep red and of good quality and flavour, yielding well in most soils. Boltardy is a multigerm variety, so each seed which germinates successfully will produce several plants.
FRUIT
- Strawberry ‘Mara des Bois’ – Imagine the intense perfume and rich flavour of wild strawberries combined with the fruit size of modern varieties and you have strawberry Mara des Bois! The medium size fruits of this ever-bearer strawberry are a true treat and one which no strawberry fan will be able to resist. Truly scrumptious!
FLOWERS
We’re also growing a few flowers from seed too to add to our pretty garden:
- Cosmos ‘Sensation’ – Cosmos grows densely with large single pink, red and white flowers. Good for the back of the border and as a cut flower.
- Sweet Pea ‘Cupani’ – Believed to be the original sweet pea which was sent to England from Sicily in 1699 – or very closely akin to it – this eye-catching bicolour remains one of the most beautiful sweet peas you can grow. Grow a little piece of history, smell the fragrance of those blooms and you will understand why sweet peas became so popular.
As you know from our last blog, “Growing Potatoes” we will also be growing three different varieties of potatoes this year.
I’d love to hear what you plan to grow in your garden this year…
Lulu & Tilda xx
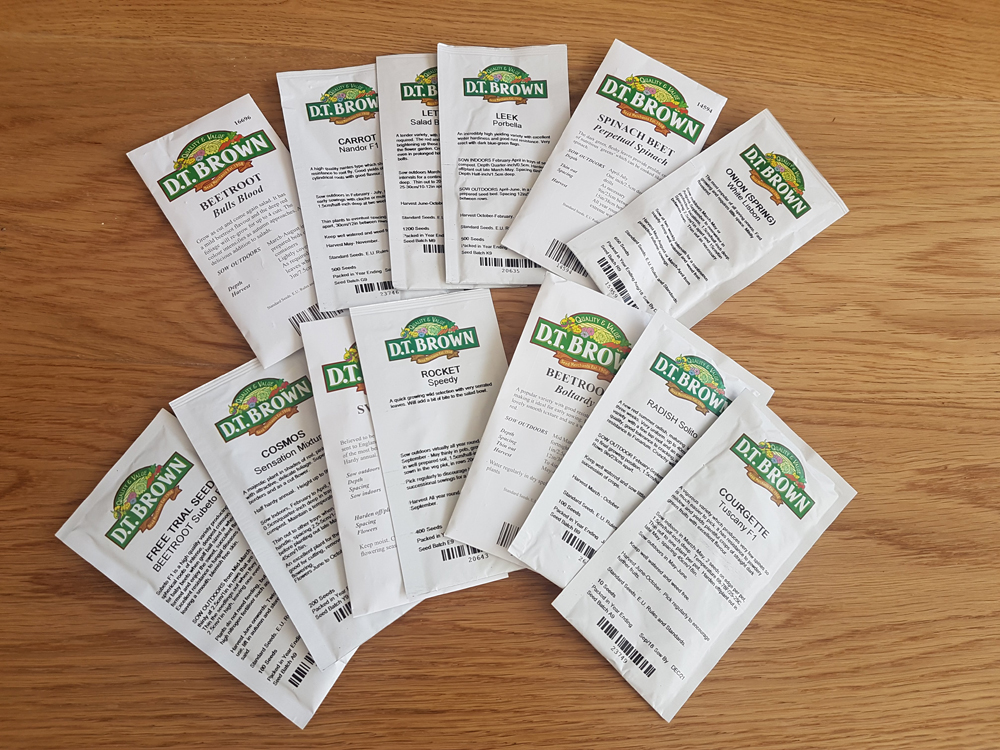
Thanks to DT Seeds who we purchased this year’s seeds from and for all their great plant descriptions.
The Foody: Time to Plant
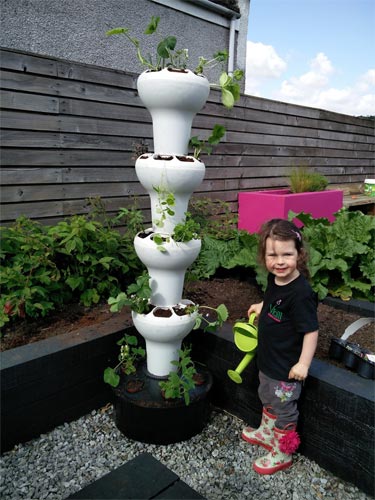
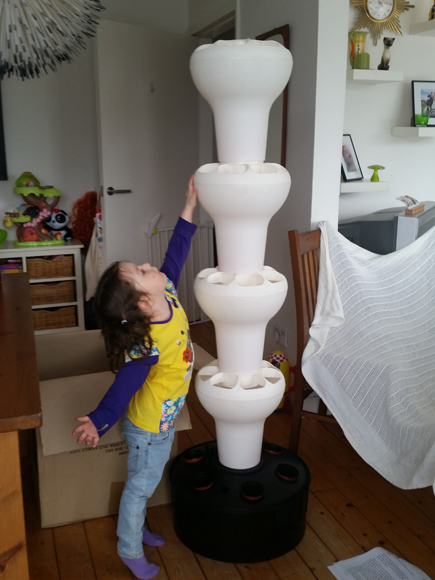
Back in February, we introduced you to the Foody, a revolutionary new way to allow you to plant a wide range of fruit and veg in the tiniest of spaces. In February it was only warm enough to build it and get used to how it worked and make plans for what we would plant in it one sunny day. Well, that sunny day has finally arrived so here is how the Foody looks planted up and what we think of it so far…

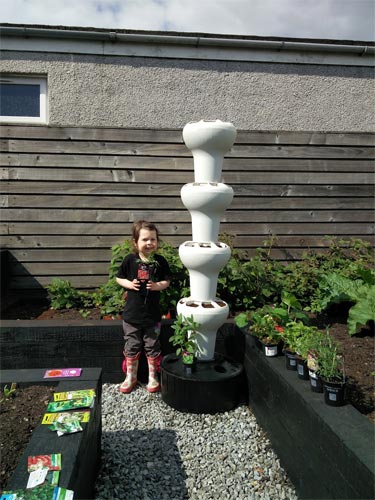
Our Foody, all planted up and looking great!
As we explained in our previous blog, the Foody is a vertical growing system which only needs a fraction of the water and space of traditional growing methods. You can choose different numbers of tiers depending on how tall you want to go. We are trialling the Foody 5, the daddy of the Foody world! So, what did we do?…
Well, we had already built the Foody when it arrived back in February so we were raring to go. We just needed to add our growing medium (compost, coir, whatever you prefer) and decide on what plants/seeds we were going to grow.
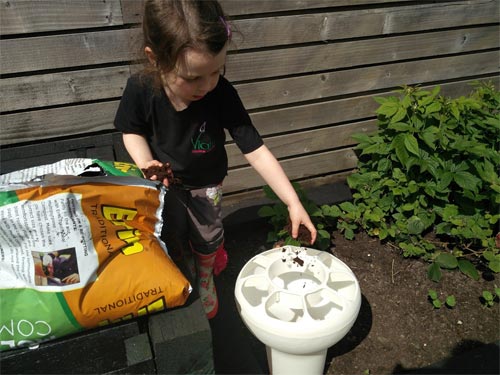
First you need to fill up your Foody with some compost
As we have the Foody 5, we had a whopping 39 spaces to fill! That’s a lot of different types of fruit and veg. We have gone for a yummy selection of things which we love to eat including:
- Bush tomatoes
- Courgettes
- Different types of salad leaves
- Spinach
- Rocket
- Radish
- Spring onions
- Strawberries
- Lots of different kinds of herbs.
We have all of these things growing in traditional methods around the garden too so we can compare how well the Foody works to them.
We needed lots of plants and seeds to fill our Foody!
The Foody looks really stylish and makes a real statement in the garden. It is also well made and looks like it will last well. It was great fun planting up the Foody as it’s such an unusual way to garden. To be able to fit all of this fruit and veg into such a tiny corner of our garden is amazing and we think it would be a wonderful solution for those with little space or who want to try “grow your own” without giving up too much garden space. The whole Foody spins easily so you can turn it around and make sure all areas get good sunlight as well as making it easy to water.
Gently plant your fruit and veg into the different pods (or
you could plant flowers to make an amazing floral sculpture!)
We are also very interested to see if it means our courgettes can escape being ravaged by slugs and snails or if they will make the journey up high! As our garden is a little windy and as we have the super-tall Foody 5, Daddy has had to build a collar for the Foody so that it doesn’t fall over in the wind. It would be good if the taller Foodies came with something to help stabilise them. Or if you live in a windy area then just choose one of the two shorter Foodies which will solve this issue.
Once planted, water your Foody. The clever reservoir
in the bottom holds the water so you use much less water.
We will keep you posted as the season goes on but we are certainly loving our Foody adventure so far. For more information on the Foody visit LIFE.
Lulu x
10 Super Easy Spring Veg To Grow
Saturday 19th March is the Spring Equinox and officially the first day of Spring yippee. That means sunnier days, lighter evenings and most importantly more time to play in the garden! It also means it’s time for me to get busy growing veg again so to help you along, here are my TEN easiest Spring veg to get growing…
Here we grow!
Before you start to grow any veg, take a minute to remove any weeds or large stones from your veg beds and give them a wee hoe over. If you haven’t already added a soil improver over winter now is a great time to add some nutrients to help your veg grow big and strong (just like me!). Done? OK, let’s go…
1. BEETROOT
This is one of my favourite root vegetables to grow as it is super-duper easy. Beetroot prefer a well drained soil so add some sand if yours is a bit sticky. Now, just sprinkle some seeds in a long row and gently cover. As the seedlings come through thin them out to allow big juicy beetroot to grow.
2. SALAD
Now under the heading of “Salad” I am covering lettuce leaves, rocket and spinach as they are all equally easy to grow. I especially love the “cut and come again” salad leaves as they just keep on growing the more you eat them. Wowsers!
3. RADISH
You have got your salad growing so you will need some radish growing with it. The best thing about radish is how quick it grows. Within a few days you will see it popping up. Sow successional rows so you always have radish to eat.
Prep your soil then sow your seeds in a nice neat row
4. PEAS
Another easy-peasy (ha, see what I did there?!) veg to grow and yummy to eat (it’s one of Tilda’s favourites!) If you don’t want to train big tall ones up lines then opt for a dwarf bush variety. I love popping the peas out of their pods!
5. POTATOES
An absolute staple in our garden and super easy to grow. Buy some seeds potatoes and let them chit on your window sill for a couple of weeks before burying them deep in your veg patch. Cover over the leaves as they pop through (this is called “earthing up”) and you will have a yummy batch of tatties come summer!
6. ONIONS
Another easy one, just buy onion “sets” which are teeny weeny onions and plant them in your veg area. They will soon grow into much bigger onions for you to pick.

Teeny weeny onion sets!
7. SWISS CHARD
Not only is swiss chard super healthy (it is full of vitamins and minerals) but it is also soooooo pretty. As well as growing it in your veg patch you can grow it in your flower beds where its colourful stalks will be a lovely addition to the garden.
8. TOMATOES
If you are an expert like me then you can grow a wide variety of tomatoes in your greenhouse. But here’s a secret tip, choose a “tumbler” or “bush” variety and they will be super happy growing in a pot in a sunny corner of your garden. The bonus is you don’t have to “pinch out” this type of tomato or tie them up as they grow. And they will give you the most delicious cherry tomatoes you have ever tasted! And much easier than going to the supermarket to buy them!
9. COURGETTES
This year I am growing both green and yellow courgettes. I have planted the seeds in little trays in the house and when they are a LOT bigger I will plant them outside in big pots where they will give me lovely courgettes all summer long. I’ll need to be fast though to beat the cheeky snails who love them too!

Here I am checking for courgettes
10. SPRING ONIONS
Well it wouldn’t be a Spring veg blog without a Spring Onion would it? Like beetroot, just sprinkle some seeds in a line and thin out the seedlings as they come through. Couldn’t be easier!
Happy growing readers!
Lulu xx
Introducing the Foody…
We were sent a weird but wonderful new contraption through the post this weekend and I had lots of fun showing M&D how to build it (they needed an expert like me to keep them right). Read on to find out what it is and what we are going to be doing with it…
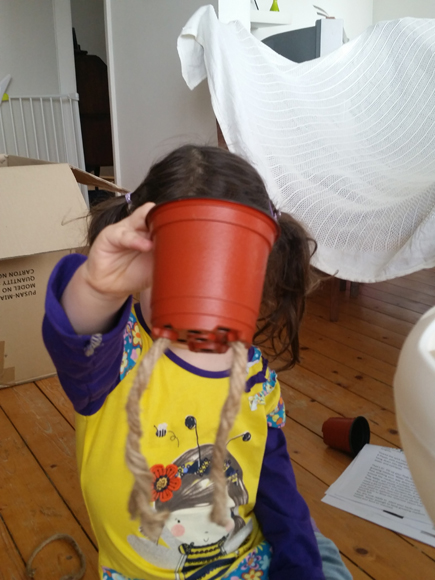
What in the world could this bed? A space ship?
A cup holder? Read on to find out more….
The Foody is a vertical growing system designed to provide the perfect environment to grow herbs, salads and flowers. It also only requires 10% of the water used in a traditional garden and can be used indoors or outdoors.

It’s a funky hat, that’s what it is!
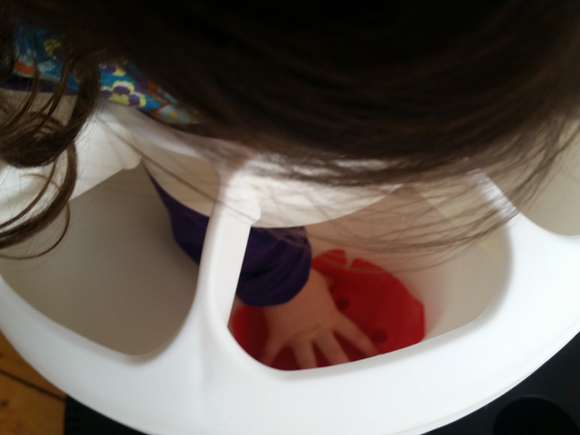
But Lulu, how does it work I hear you ask? Well, when you water the top pod the water slowly drains down to the reservoir in the bottom. Cleverly, there are six extra pots down there with wicks which can use this water too.
Lookee here, there are pots at the bottom and the
rope acts a wick to sook up all the water from below
As it can also be used indoors (and it looks pretty cool too) it means you can be growing salads and herbs all the year round, even up here in chilly Scotland!
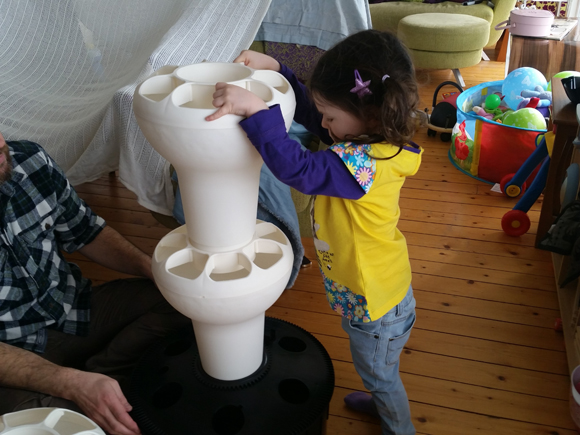
I start to add the towers on to our reservoir. You can choose a
Foody 3, 4 or 5 which have different levels to suit you
And if you really want to, you can even add a pump so that the watering is done automatically (watering is one of my favourite parts though as I get to splash in the water and look for fruit and veg at the same time!)
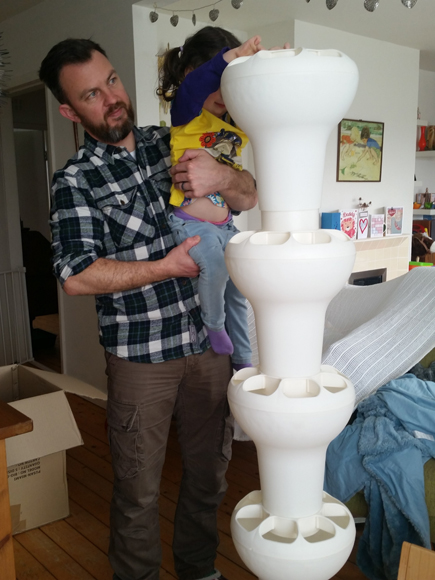
Wow, it’s getting tall now, I need a
little hand to reach up to add this pod!
The Foody is perfect when you have limited space and can be used in greenhouses, balconies, roof terraces, patios, you name it. And it cleverly rotates too so that you can make sure all sections get their share of the sun as required.
You get some material to add to the bottom of each pod to stop
any soil being washed down through the drainage holes
And as you can see from the pics it is super easy to put together. We’ll be trialing a selection of fruit and veg in our Foody 5 (you can grow all sorts in them and I will be growing strawberries, tomatoes, radish and tomatoes to name just a few) over the coming months and will keep you posted of our results.
Wow, our Foody 5 is waaaaay tall!
For more information on the Foody go visit the lovely people over at LIFE.

Plus you get a free box for hours of fun!
Lulu xx
Sow Clever: Upcycled Seed Trays
It’s the perfect time of year to start growing veg from seed (let’s face it the weather isn’t really good enough to be outdoors all day just yet so sneaking indoors to do some seed sowing is a good thing!) But you don’t need expensive seed trays or propagators. Literally have a look around your house and you will find plenty ideas for free seed trays to use and sow clever…
Toilet roll tubes
We all have loads of these. We normally use them for craft projects but they make excellent planters for seeds. Cut them down a bit in size (you could easily make two pots from each tube) and sit them on a tray and fill with compost. Easy peasy.
Egg shells
You can even grow seeds, such as cress, in egg shells. Look at the funny haircuts above!!!
Egg cartons
And nothing need go to waste with an egg. We have used the egg shell and we can use the carton too. Perfect for growing seeds in.
Milk or juice cartons
Any sort of carton can be cut open (ask a grown up to do that bit) and filled with compost. Wonder if I can grow oranges in an orange carton?…
We grew some brilliant broccoli in this juice tray!
Paper cups
Get your mummy and daddy to save their coffee cups and recycle those party cups too. Perfect for growing veg.
Newspapers
Newspapers can be folded up to make little cups for growing seeds in. These are brilliant as they decompose in the ground so you don’t have to upset the teeny roots by taking them out of their pot.
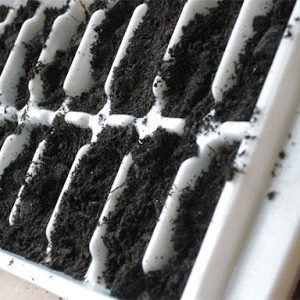
Ice cube tray
Another great alternative to a seed tray. Just make sure you don’t pop it back in the freezer!
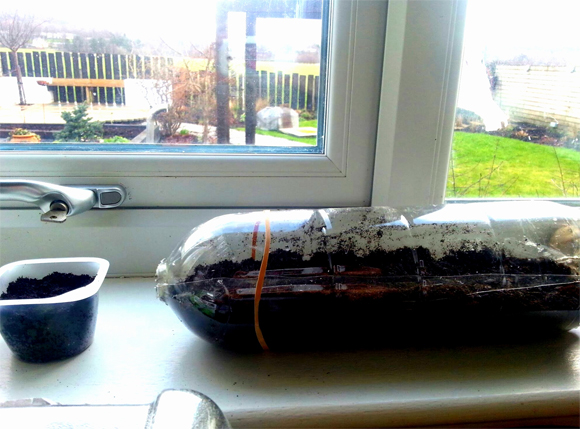
Bottles & Pots
Old juice bottles or yoghurt or custard pots are other great ways to sow seeds. The bonus of using a juice bottle is that you can make a lid which then keeps the heat in and makes the seeds grow faster!
So there you go, not only do you save money on the veg you are growing you don’t even need to spend any money on pots to grow them in. Veg-tastic!
To learn more about how to grow seeds in any kind of tray then read my blog here.
Happy sowing,
Lulu xx
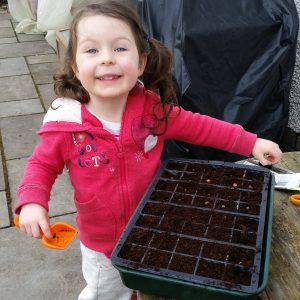
Sowing The Seeds Of Love
Hi everybody! It’s less than a month ’til the official start of Spring which is super-exciting! Already plants are pushing through the ground, buds are appearing on shrubs and slowly the garden is waking up from its winter sleep. Let’s have a big stretch everyone as it’s time to dust down your seed trays, rummage through your seed boxes and get sowing. If you’ve never sown seeds before, don’t worry, I will talk you through the process, making it super-easy. Plus you don’t have to have any fancy equipment as I have some neat alternatives to share with you. Come on, let’s do it…

Collecting nasturtium seeds for next year is really easy!
Step One – Organise your equipment
If you are a professional like me you will have lovely seed trays to grow your seeds in. But I think it’s cool to grow them in other things which are lying around the house. I will tell you more about them later. But first things first, make sure you give your trays, cells and covers (or whatever you are using) a good old clean. It gets rid of nasty bugs which could affect your seeds. It’s just the same as us washing our hands before we eat, right?
Step 2 – Fill your containers with compost
It’s important to use a good compost which is meant for sowing seeds to give them the best possible start. This sort of compost is lighter and holds water better which means the seeds can grow more easily. Read your packets in case your seeds have special instructions. We used Verve Sowing and Cutting Compost (it has to be the 12L bags) as it’s a Which Best Buy.
Fill your seed trays
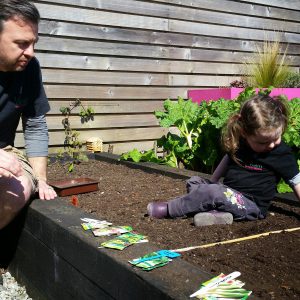
Step 3 – Sow Your Seeds
Remember to read your packet and find out when and how your seeds are to be sown. Some like to sit on the top, some like a light covering. We have sown some of ours slightly early but we don’t have a heated propagator so that will be fine. Some of the seeds are teeny-tiny (like a Pontipine!) so you have to be really careful when you are handling them. I like the pumpkin and courgette seeds as they are big (like me!)
Step 4 – Label & Cover
Make sure you label your trays clearly so that you know exactly what is growing there. You could write the names or draw a picture of what it will look like. It’s important to label as whilst I love growing courgettes in the middle of our flower beds some people might not want their broccoli in a hanging basket 😉 Cover your trays to create a humid environment for the seeds to germinate well. Remember to keep the trays well watered and in a sunny spot.
Alternative Trays
If you don’t have seed trays there are lots of alternatives you can use such as plastic bottles, yogurt pots, tin cans, egg cartons, juice cartons, old boots, milk cartons or any old flower pots you have sitting around. To use a bottle, cut the plastic bottle in half long-ways (ask a grown-up to do this) to create a lid which you can easily flip up to water. Remember to put drainage holes in the bottom.
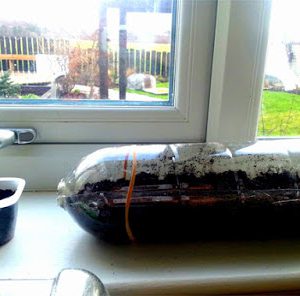
Use a juice bottle as a seed tray
So there you have it! And already, even in just a few days I can see my seeds starting to push through the soil. I have a selection of pretty flowers growing such as nasturtiums, poppies, sweet peas and cosmos as well as loads of different veg from courgettes and pumpkins to tomatoes (OK, technically a fruit) and broccoli. How exciting! Once your seedlings have developed their first true leaves and are large enough to be handled, carefully pot them into their own small pots. Be careful to handle them by the leaves or you may damage the stem.
Give on, give sowing some seeds a try. I promise you it’s waaaay more fun, more tasty, cheaper and better for the environment than relying on supermarket produce.
Hugs & kisses,
Lulu xx
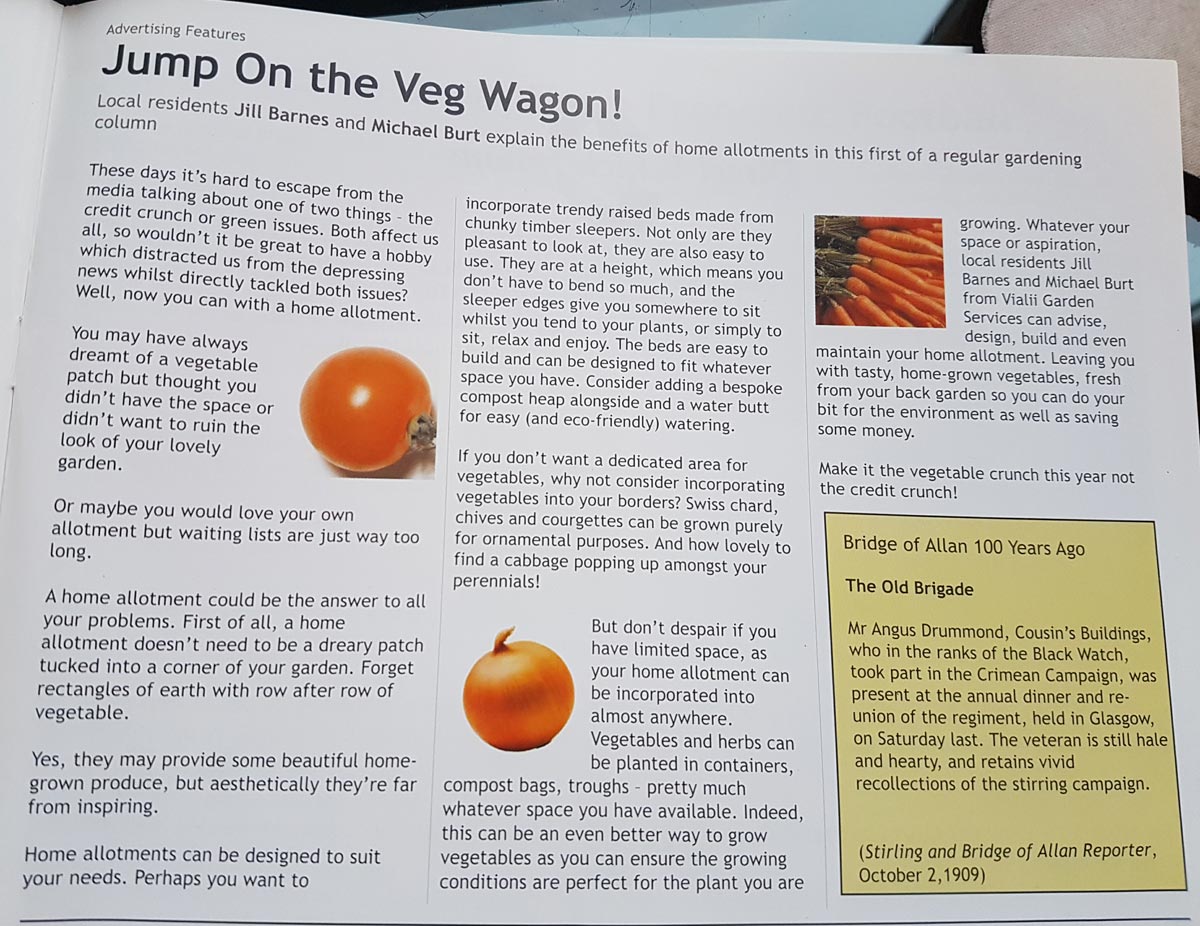
Bridge of Allan Times
Our article “Jump On The Veg Wagon” explains the benefits of home allotments and tips for “grow your own”.