The Green Roof Project…
Sunday, 03 June 2012
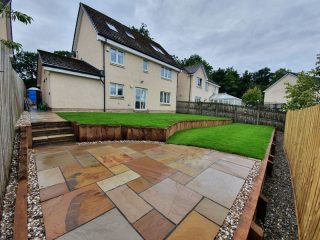
Our shed with its green roof
Construction of the shed started some time ago. We originally posted about it back in September 2011 and whilst the shed has been completed for some time now we’ve only gotten round to writing about it today.
As mentioned in our earlier posting, the shed needed to be bespoke due to the awkward sized corner. We had acquired some very robust Canadian oak pallets which were ideal to provide a strong and sturdy structure necessary to support the weight of a green roof.
Pallets were used to create the structure
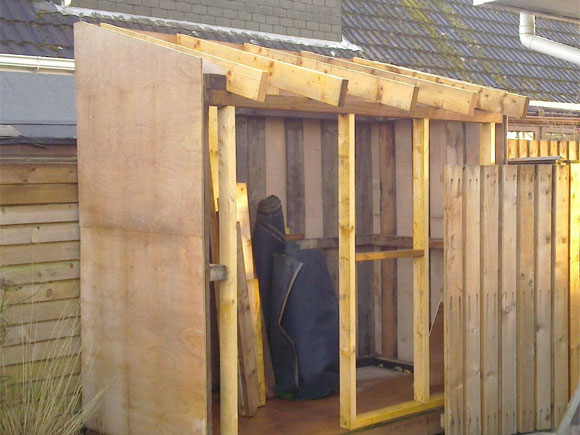
The walls were clad in a weatherproof ply skin and then dressed with horizontal softwood slats which have been pressure treated. The roof structure consisted of graded timber roof joists and a double sheeting of marine-grade plywood. Graded timber was then secured around the perimeter of the roof to form a reservoir for the growing medium.
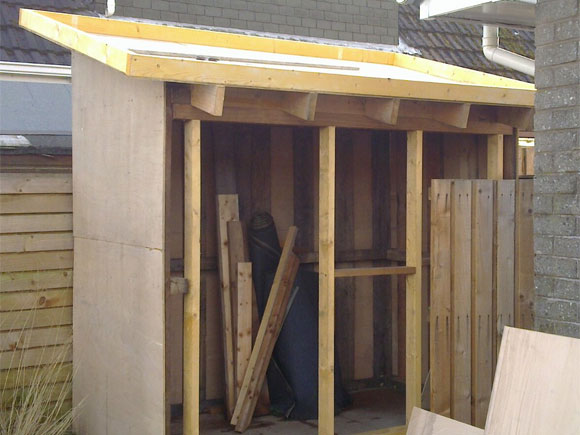
The roof structure takes shape
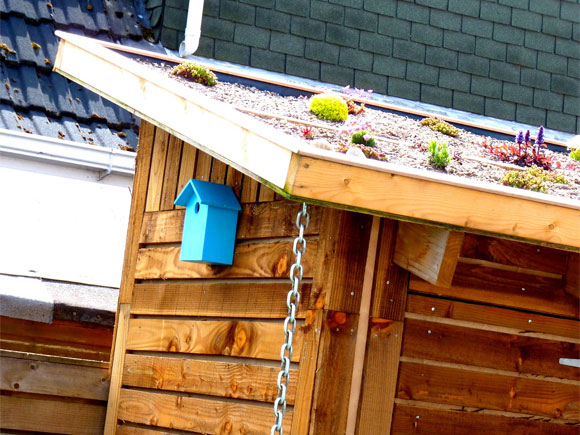
The roof then needed to be waterproofed so a thick visqueen membrane was added and carefully cut to size and pinned to the perimeter timber. At this point we needed to consider how to drain the roof. We were reluctant to install a standard PVC downpipe as, quite frankly, we thought it would look rubbish. We opted instead for a drip-chain arrangement which involved feeding a chain through a pre-drilled hole in the low point of the roof structure. You tie a knot in the chain so it doesn’t fall all the way through the hole and then the chain the drapes down onto the gravel corner of the patio. When it rains, the water finds its way to the hole that the chain passes through and gently trickles down the chain into the gravel beneath. Simple, looks good and is quite the conversation piece too.
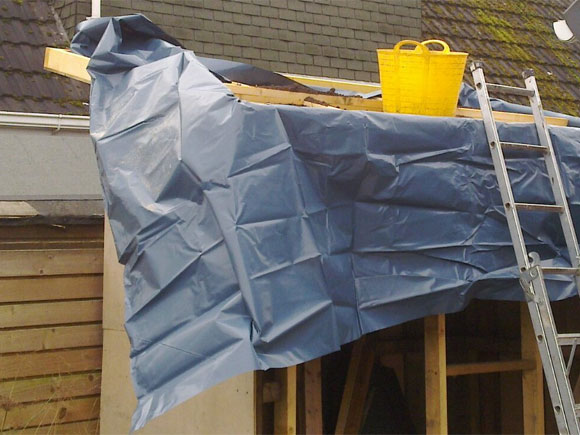
Weather-proofing is important
You not only require to consider what to do when things are wet but almost as important is what to do when things are dry. There’s not a great deal of growing medium on the roof so it has the potential to dry out pretty quickly. We included a double layer of thick cardboard at the base of the growing medium to hold onto valuable moisture and as we intended to grow alpines on the roof so we filled the roof with a fairly poor mix of topsoil, sand, grit and vermiculite. So that was that, job done. All that was left were the little details…
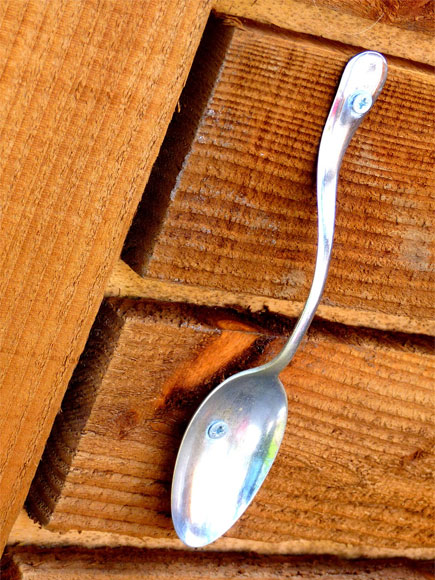
A spoon handle

A chain down pipe
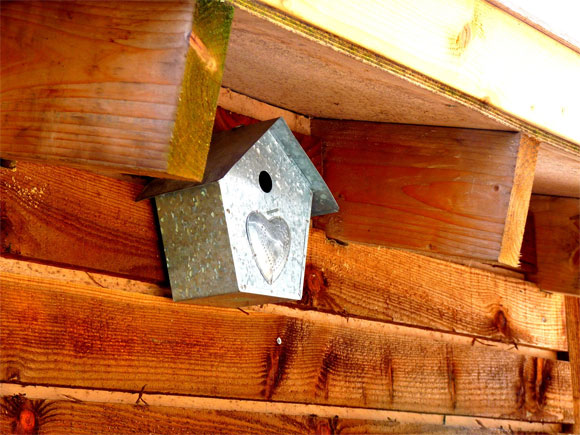
A cute bird box
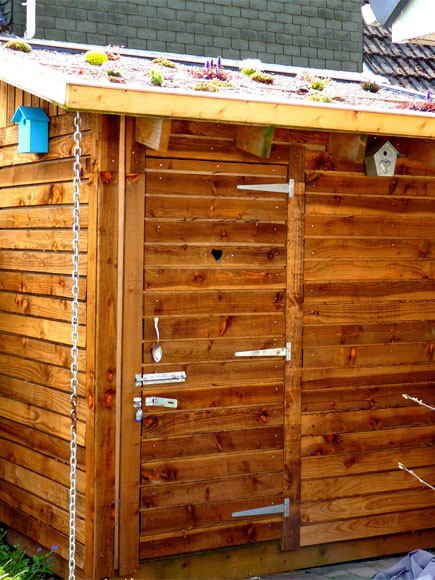
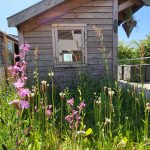
The completed shed
All at Vialii
Search Blog
Recent Blog Posts
Beautiful Barca
We were lucky enough recently to visit beautiful Barcelona for a long weekend. We did of course do the usual...

Essential Lawn care
With spring fast approaching our garden maintenance team are at the ready to help keep your gardens in tip top...
Spring Forward!
Now that we are occasionally getting some sunny days, it is the perfect time to “Spring Forward” and start venturing...
Garden Trends for 2024
Welcome to our first blog of 2024 and what better way is there to kick off the new year than...

Top 5 Jobs For The Autumn Garden
With Halloween and Bonfire Night now behind us we are safely in the realms of autumn with the glorious carpets...